Egg Wash for Baking: Your Secret to Golden Crusts

Egg Wash for Baking
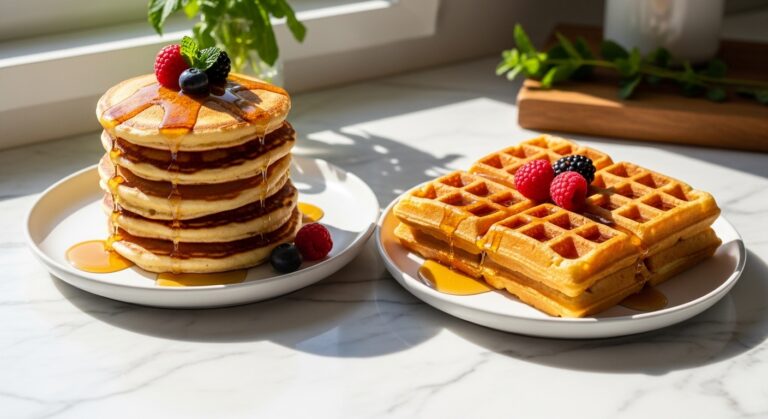
Have you ever wondered what gives bakery goods that undeniable wow factor – that incredible golden sheen and perfectly crisp crust? It’s often not some complicated secret, but rather a humble kitchen hero we often overlook: Egg Wash for Baking. This simple, yet incredibly effective, mixture of egg and a liquid is truly the secret weapon for transforming your baked creations from good to absolutely gorgeous, bestowing that coveted golden-brown finish and irresistible shine.
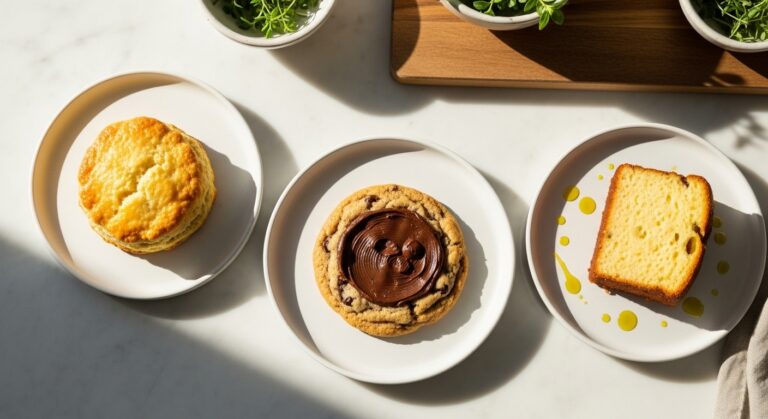
Thank you for reading this post, don't forget to subscribe!From rustic loaves of artisan bread to delicate, flaky croissants and even savory pies, a well-applied egg wash can elevate your results to professional levels, taking them from homemade to bakery-worthy in an instant. It’s a foundational technique that every baker should have in their arsenal, and if you’re looking for more comprehensive advice on all things egg-related in the kitchen, our Egg-spert Baking Guide is packed with tips to hone your skills.
I remember the first time I saw a dull scone transform into a glistening masterpiece with just a Egg Wash for Baking is essential for shiny, golden baked goods. Learn the simple recipe, best uses, and pro tips for perfect results every time. of this magic concoction, and I’ve been a firm believer ever since! It’s a testament to how basic techniques can unlock a world of beautiful finishes, truly making your treats glow with that perfect golden shine that’s hard to resist.
Egg Wash for Baking: Your Secret to Golden Crusts
Course: GuidesCuisine: Baking BasicsDifficulty: Easy4
servings30
minutes40
minutes300
kcalA simple, versatile egg wash recipe for adding a beautiful golden sheen and rich color to all your baked goods, from breads to pastries.
Ingredients
1 large egg
1-2 tablespoons liquid (water, milk, or cream, depending on desired finish)
Pinch of salt (optional, for savory applications)
Directions
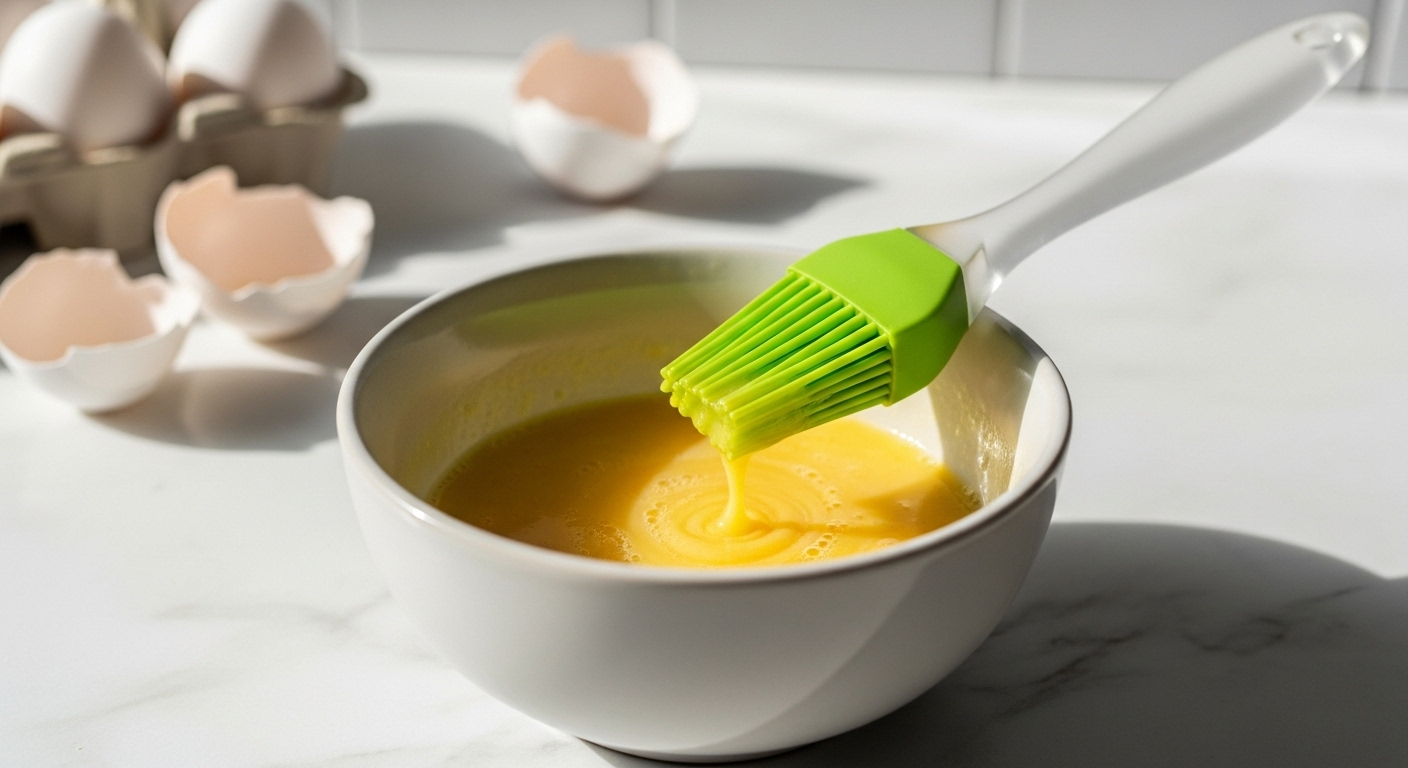
- In a small ceramic bowl, crack the large egg.
- Add 1-2 tablespoons of your chosen liquid (water for a lighter sheen, milk for a matte finish, or cream for a rich, golden color).
- Using a fork or a small whisk, vigorously beat the egg and liquid together until completely smooth and no streaks of egg white or yolk remain. This usually takes about 30 seconds to 1 minute.
- If using for savory items like empanadas or a pot pie, a tiny pinch of salt can be added to enhance flavor and help with browning.
- Strain the egg wash through a fine-mesh sieve into another clean bowl if you want an extra-smooth, streak-free finish. This removes any chalazae or bits of unbeaten egg.
- To use, dip a pastry brush into the prepared egg wash, removing any excess.
- Gently brush a thin, even layer over the surface of your dough or pastry before baking. Avoid pooling, as this can create a dense, unpleasant texture.
- Bake as directed in your recipe, enjoying the beautiful golden crust the egg wash provides.
Notes
- The Right Ratio: The key to a good egg wash is balance. Too much liquid and it won’t give enough shine; too little and it can be too thick and streak. Start with 1 tablespoon of liquid, then add a second if your egg is particularly large or you want a thinner consistency.
- Choose Your Liquid Wisely: Water gives a high shine and a crisper crust. Milk or half-and-half offers a softer, more golden-brown finish with less shine. Cream provides the richest, darkest golden color and a tender crust, perfect for brioche or rich pastries.
- Strain for Perfection: For the smoothest, most professional finish on delicate pastries, don’t skip straining your egg wash! It removes any stray bits of egg white that can cook into unsightly streaks on your beautiful bakes.