My Go-To 4-Ingredient Artisan Bread Recipe: Pure Magic from Your Kitchen
Oh, how the words Artisan Bread Recipe used to send shivers down my spine! For years, I dreamt of pulling a perfectly crusty, fragrant loaf from my oven, only to be intimidated by complex instructions, endless kneading, and specialized equipment. My kitchen adventures often ended in dense, sad bricks or sticky, unmanageable messes, leaving me convinced that true artisan bread was a skill reserved for professional bakers or those with limitless time and patience. I almost gave up on my bread-making dreams entirely, believing such culinary joy was utterly out of my reach.
Thank you for reading this post, don't forget to subscribe!But then, one chilly afternoon, a dear friend shared a secret – a surprisingly simple four-ingredient method that promised a miracle. Skeptical but hopeful, I stepped into my kitchen, determined to give it one last try, and what unfolded was nothing short of pure magic. The incredible aroma filling my home, the beautiful golden crust, the tender, open crumb – it was everything I had ever hoped for, and more, proving that true culinary joy often truly lies in simplicity.
This profound success transformed my relationship with baking, igniting a newfound confidence to explore even more delicious creations, like a rustic homemade fougasse. And now, I’m absolutely thrilled to share the game-changing secret behind this incredible Artisan Bread Recipe (4 Ingredients) with you.

Unlocking the Secret to a Simple Artisan Bread Recipe
This incredible artisan bread recipe relies on a few fundamental principles that make it deceptively easy. The core idea is minimal intervention and maximum flavor development over time. By combining just four ingredients – flour, water, salt, and yeast – and letting time do most of the work, we create a dough that develops character and structure without the need for intensive kneading. It’s a process that truly captures the essence of homemade baking, letting the ingredients sing their own song.
My personal kitchen memory associated with this method is that first victorious moment, seeing the dough rise perfectly, knowing that Bake Mode had finally conquered its bread-making fears. It’s a reminder that sometimes the simplest path leads to the most profound results.
Essential Ingredients for Your Best Artisan Bread Recipe
While this artisan bread recipe calls for only four ingredients, their quality makes all the difference. Choose a good quality bread flour for its higher protein content, which contributes to that desirable chewy texture. Filtered water is always my preference for consistency, and a fine sea salt works wonders for flavor. As for yeast, active dry yeast is readily available and reliable. Don’t be tempted to skimp on these basics; they are the building blocks of perfection. This is where Taste Charm truly comes into play – understanding that even in simplicity, excellence is attainable through mindful ingredient selection. A small investment in quality here yields a huge return in flavor and texture, turning a basic recipe into something extraordinary.
Mastering the No-Knead Technique for Your Artisan Bread Recipe
The beauty of this artisan bread recipe lies in its no-knead method. After a quick stir to combine the ingredients, the dough is left to proof slowly at room temperature. This extended fermentation allows the gluten to develop naturally, giving the bread its structure and airy crumb. It’s a hands-off approach that fits perfectly into a busy schedule – a little mixing tonight, and by tomorrow, you’re ready to bake. I’ve found that even on days when my kitchen feels like a whirlwind, this process offers a calming rhythm. There’s a quiet magic in watching the dough transform, doing its thing, seemingly effortlessly. It’s proof that sometimes, the best things are born from patience and trust in the process.
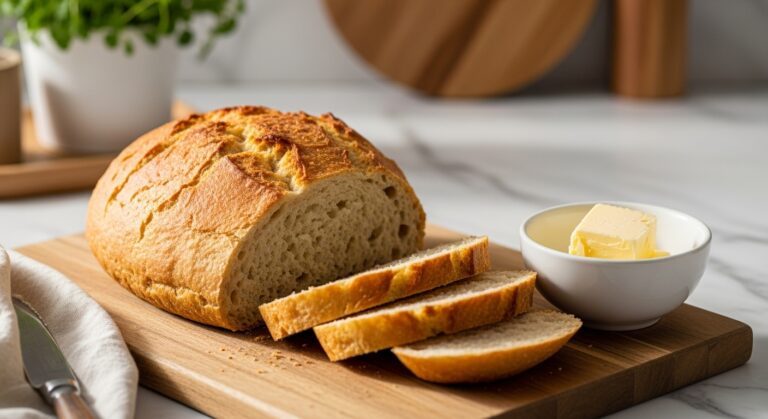
Achieving the Perfect Crust and Crumb with Your Artisan Bread Recipe
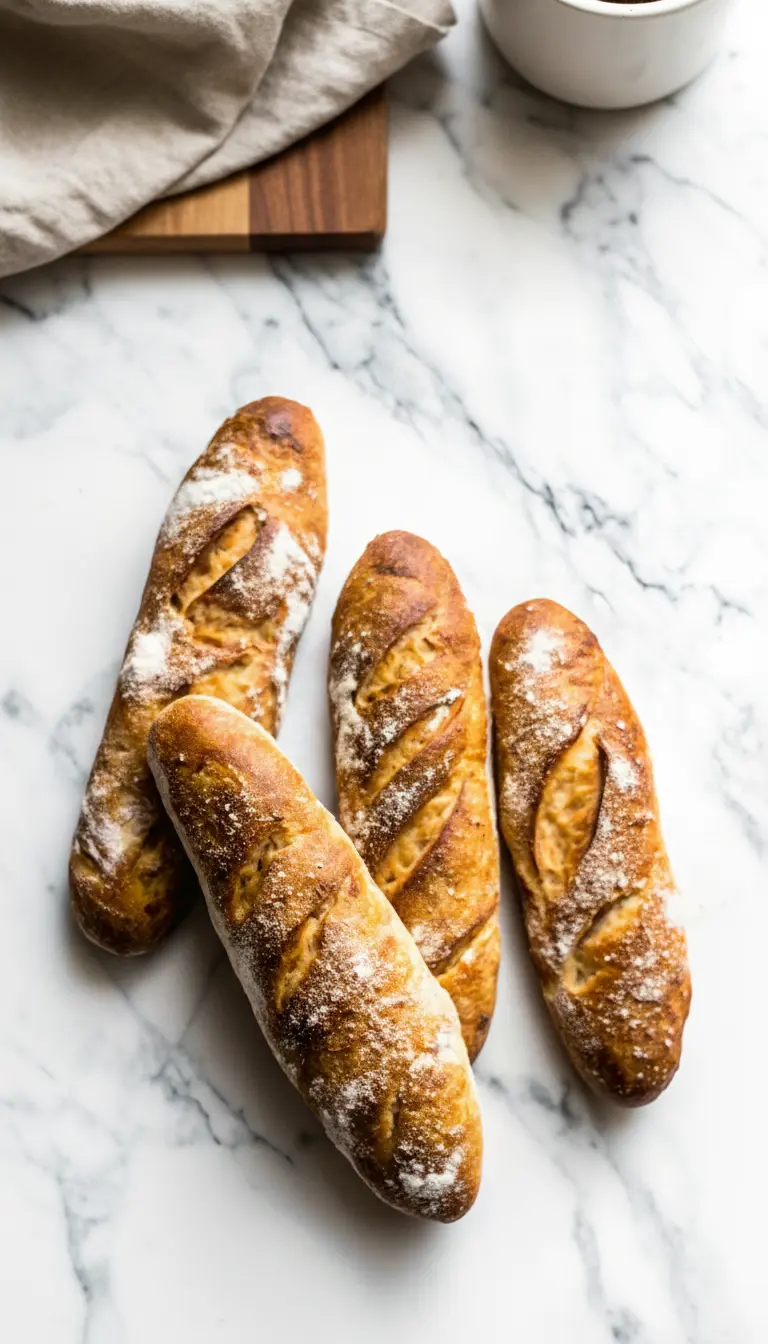
The secret to that coveted crusty exterior and open, airy crumb in your artisan bread recipe often comes down to baking technique, specifically with a Dutch oven. Preheating your Dutch oven ensures a blast of intense heat that creates a steamy environment, crucial for the crust to develop properly. The lid traps the steam, preventing the crust from setting too quickly, allowing the dough to expand beautifully. After the initial covered bake, removing the lid allows the bread to brown and crisp up to golden perfection. This two-stage baking process is a game-changer and a family secret I’m thrilled to share. It truly brings that bakery-quality finish right into your home kitchen, making every loaf a celebration.
Serving and Savoring Your Homemade Artisan Bread Recipe
Once your artisan bread recipe is baked to golden perfection, the hardest part is waiting! Letting the loaf cool completely on a wire rack is essential. Slicing into a hot loaf can collapse its delicate internal structure, leading to a gummy texture. Patience, my friends, is key to the ultimate enjoyment. Once cooled, this bread is incredibly versatile. It’s perfect alongside a hearty soup, for dipping in olive oil, or simply toasted with a smear of butter. Every slice is a testament to your kitchen adventure, a delicious reward for your efforts. It’s moments like these, savoring a simple, perfect slice, that truly define the Bake Mode philosophy. Now, let’s bring this memory to your kitchen…
My Go-To 4-Ingredient Artisan Bread Recipe: Pure Magic from Your Kitchen
Course: BreadsCuisine: EuropeanDifficulty: Easy4
servings30
minutes40
minutes300
kcalThis 4-ingredient artisan bread recipe is a game-changer for home bakers. With a simple no-knead method, you’ll achieve a beautifully crusty exterior and a tender, airy crumb, reminiscent of your favorite bakery loaf.
Ingredients
3 cups (360g) bread flour, plus more for dusting
1½ teaspoons salt
¼ teaspoon active dry yeast
1½ cups (360ml) lukewarm water (105-115°F)
Directions
- In a large bowl, whisk together the flour, salt, and yeast. Add the lukewarm water and mix with a wooden spoon or spatula until no dry spots remain and a shaggy, sticky dough forms.
- Cover the bowl tightly with plastic wrap and let it sit at room temperature (around 70°F) for 12-18 hours, or until the dough is bubbly and has nearly doubled in size.
- Lightly flour a clean surface. Gently scrape the dough out of the bowl onto the floured surface. Fold the edges of the dough towards the center a few times to create a loose ball. Let rest for 15-20 minutes.
- In the meantime, preheat your oven to 450°F (232°C) with a Dutch oven (or heavy pot with a lid) inside for at least 30 minutes.
- Carefully remove the hot Dutch oven. Gently place the dough into the Dutch oven, seam-side up or down (depending on preference). Score the top with a sharp knife or bread lame if desired. Cover and bake for 30 minutes.
- Remove the lid and continue to bake for another 15-20 minutes, or until the crust is deeply golden brown and sounds hollow when tapped.
- Carefully remove the bread from the Dutch oven and transfer it to a wire rack to cool completely before slicing (at least 1 hour).
Notes
- The long proofing time is crucial for flavor development. Don’t rush it!
- A sticky dough is normal for this no-knead method. Resist adding too much extra flour during the initial mix.
- For shaping, a light touch is best. You’re not kneading, just forming a basic ball.
- Cooling the bread completely before slicing is vital for the best texture. Slicing too early can result in a gummy interior.
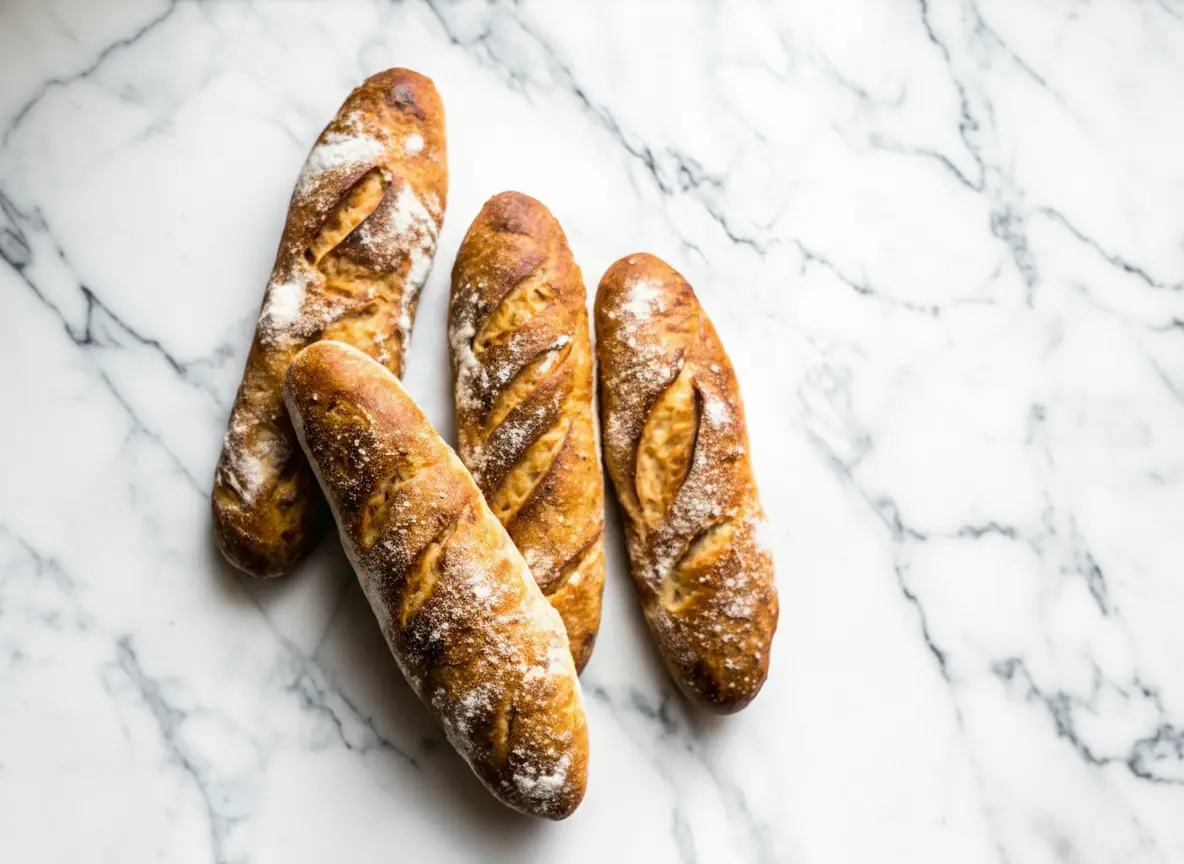
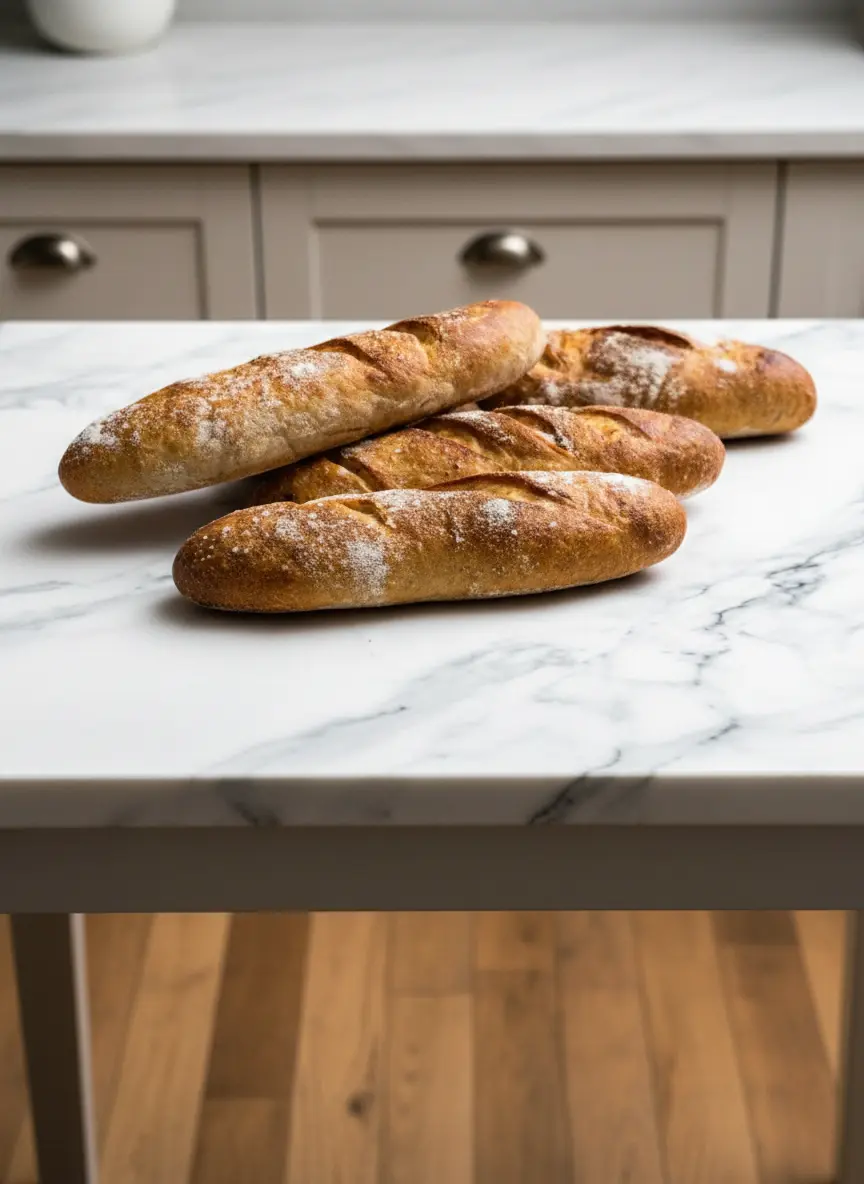
- This recipe is designed for a 3-4 quart Dutch oven, yielding one round loaf. To make baguettes, divide dough into 2-4 portions after the first rest, gently shape into logs, and bake on a baking stone or sheet with steam (e.g., a tray of water) if not using a lidded vessel per loaf.