The Best Chewy Butterfinger Brownies Recipe
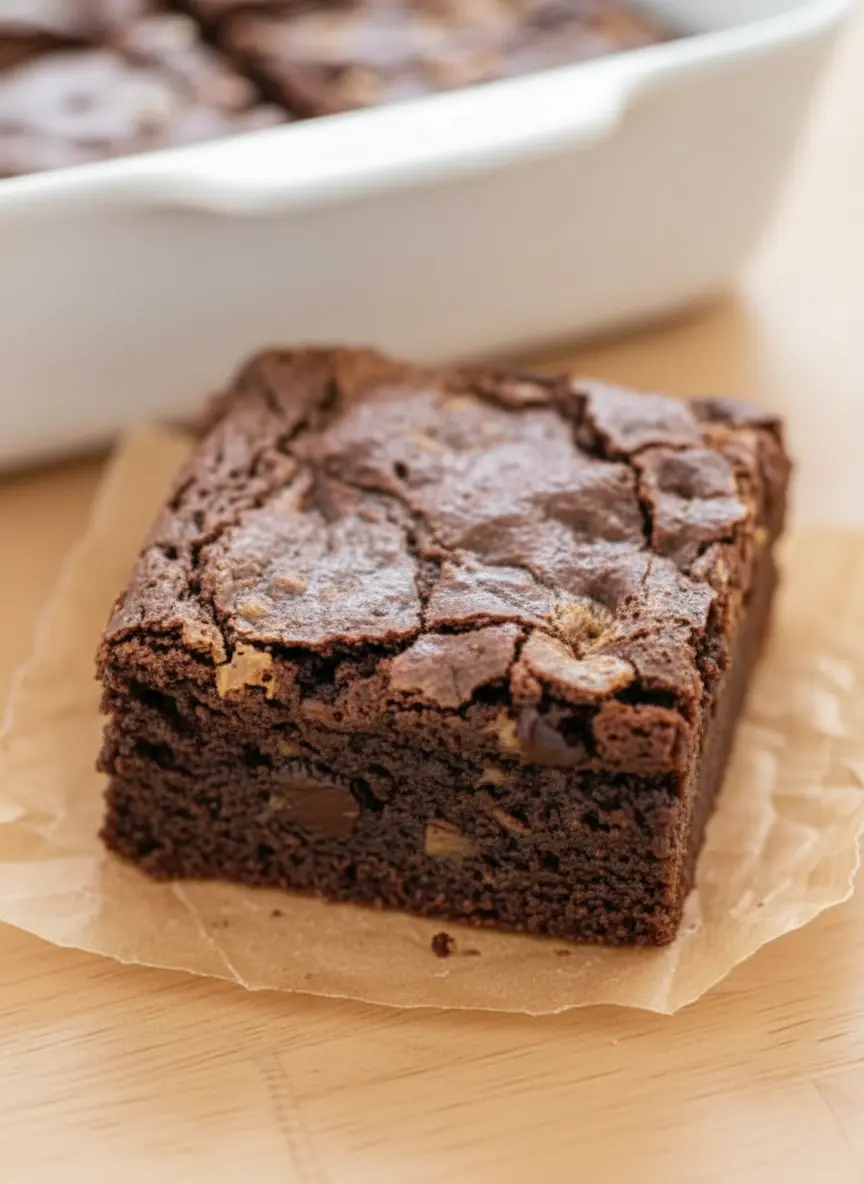
Just saying Butterfinger Brownies aloud sparks a ripple of pure joy in my kitchen, instantly bringing back sweet memories of chocolate-smudged smiles and that irresistible crispety-crunchety goodness. There’s an undeniable magic in taking an iconic candy bar, one that already boasts that incredible peanut-buttery taste, and embedding it into the deepest, darkest, chewiest brownie you can imagine. This isn’t just a dessert; it’s a delicious testament to the fact that some things are simply meant to be together, like chocolate and peanut butter, or a cozy afternoon and the comforting hum of an oven.
Thank you for reading this post, don't forget to subscribe!My first adventure with these extraordinary brownies began quite spontaneously, born from a pile of leftover Halloween candy and a mischievous whisper from my inner ‘Bake Mode’ demanding a grand transformation. The result was nothing short of a revelation: a brownie that beautifully honored the deep chocolatey richness I adore (much like my beloved fudgy sourdough brownies) while elevating the distinct crunch and flavor of Butterfinger to an entirely new level. It quickly became our household’s most requested treat for everything from potlucks to ‘just because it’s Tuesday’ celebrations, and if you’re as obsessed with this delightful flavor combo as I am, you might also enjoy exploring other fantastic renditions, like this delicious Butterfinger Brownies recipe from TasteCharm.
The Secret to Perfectly Chewy Butterfinger Brownies
Achieving that elusive perfect chewy texture in Butterfinger Brownies is all about balance. It starts with melted butter and sugar, a combination that ensures a fudgy, dense crumb rather than a cakey one. Many recipes call for cocoa powder, but here in Bake Mode’s kitchen, we use a mix of cocoa powder and melted chocolate for a deeper, more complex chocolate flavor that truly stands up to the robust Butterfinger pieces. The eggs are critical too; using slightly fewer flour and more eggs helps keep the brownies moist and chewy, preventing them from drying out.
And don’t overmix! Overmixing develops gluten, leading to a tougher texture, which is the exact opposite of what we want for our rich, decadent Butterfinger brownie squares. We’re aiming for that delightful pull and chew with every bite.
Selecting the Best Butterfinger for Your Butterfinger Brownies
When it comes to infusing your Butterfinger Brownies with that signature flavor, the quality of your Butterfinger pieces matters. While you can certainly chop up whole candy bars, I’ve found that using pre-crushed Butterfinger baking bits makes the process incredibly easy and ensures a more even distribution throughout the brownie batter. These bits are designed to withstand baking temperatures, maintaining their crunchy texture without completely melting away. If you’re chopping whole bars, aim for varying sizes – some smaller bits to melt into the chocolate, and some larger chunks to provide distinct pockets of crispety, crunchety goodness.
Taste Charm always insists on getting the freshest candy for baking, and I wholeheartedly agree; it truly makes a difference in the final product.
Mastering the Mix: Creating Your Butterfinger Brownies Batter
The batter for these Butterfinger Brownies comes together quickly, but a few key steps make all the difference. First, ensure your melted butter and sugar are properly combined and cooled slightly before adding the eggs. This prevents the eggs from scrambling, which would ruin the smooth texture. Incorporate the dry ingredients gently, just until no streaks of flour remain. This is where Bake Mode reminds me not to rush; patience pays off in the end. Then, fold in your chopped Butterfinger pieces. Resist the urge to add too many, or they might make the brownies crumbly.
We want a generous amount, but not so much that it overwhelms the brownie itself. A quick swirl of extra peanut butter or melted Butterfinger on top before baking adds an extra layer of flavor and a beautiful marbled effect, making these Butterfinger brownies truly irresistible.
Baking Perfection: Tips for Your Butterfinger Brownies
Baking Butterfinger Brownies to perfection is less about strict timing and more about observation. Every oven is different, so learning to read your brownies is a crucial skill. You’re looking for edges that are set and pulling slightly away from the pan, while the center still has a slight wobble. A toothpick inserted into the center should come out with moist crumbs, not wet batter. Overbaking is the enemy of a fudgy brownie, turning it dry and crumbly. I typically start checking around the 25-minute mark. Once they’re out of the oven, the hardest part is waiting! Allow your Butterfinger Brownies to cool completely in the pan on a wire rack.
This allows them to set up properly, becoming even chewier and easier to cut. Taste Charm often tries to sneak a corner before they’re fully cooled, but even she knows the wait is worth it for that perfect slice.
Serving and Storing Your Delicious Butterfinger Brownies
Once your Butterfinger Brownies have cooled, the fun begins! For clean cuts, I like to chill them slightly in the refrigerator for about 30 minutes before slicing. Use a sharp, warm knife, wiping it clean between each cut. These brownies are fantastic on their own, perhaps with a cold glass of milk, but they also make a stellar base for a dessert creation. A scoop of vanilla bean ice cream and a drizzle of caramel sauce can elevate them into an extraordinary treat. Storing them is simple: keep them in an airtight container at room temperature for up to 3-4 days, or in the refrigerator for up to a week.
They also freeze beautifully for up to 3 months, making them perfect for meal prep or emergency dessert cravings. Just be sure to bring them to room temperature before serving for the best texture and flavor. Now, let’s bring this memory to your kitchen…
The Ultimate Chewy Butterfinger Brownies Recipe
Course: DessertCuisine: AmericanDifficulty: Easy4
servings30
minutes40
minutes300
kcalRich, fudgy, and intensely chocolatey brownies packed with crunchy Butterfinger candy pieces. A perfect blend of classic chocolate and peanut butter crunch.
Ingredients
1 cup (2 sticks) unsalted butter, melted
2 cups granulated sugar
4 large eggs
1 teaspoon vanilla extract
1 cup all-purpose flour
¾ cup unsweetened cocoa powder
½ teaspoon baking powder
¼ teaspoon salt
1 cup chopped Butterfinger candy bars (about 5-6 standard bars)
(Optional) ¼ cup creamy peanut butter, for swirling
Directions
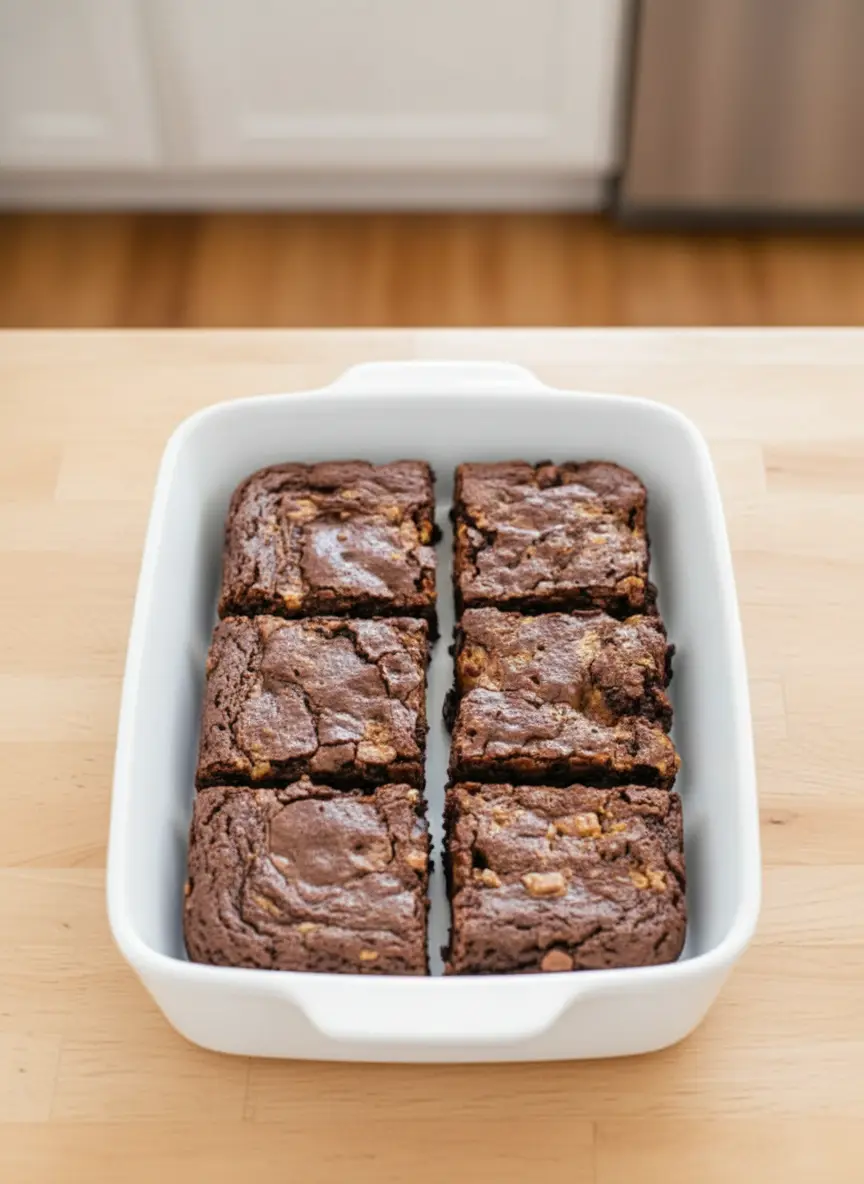
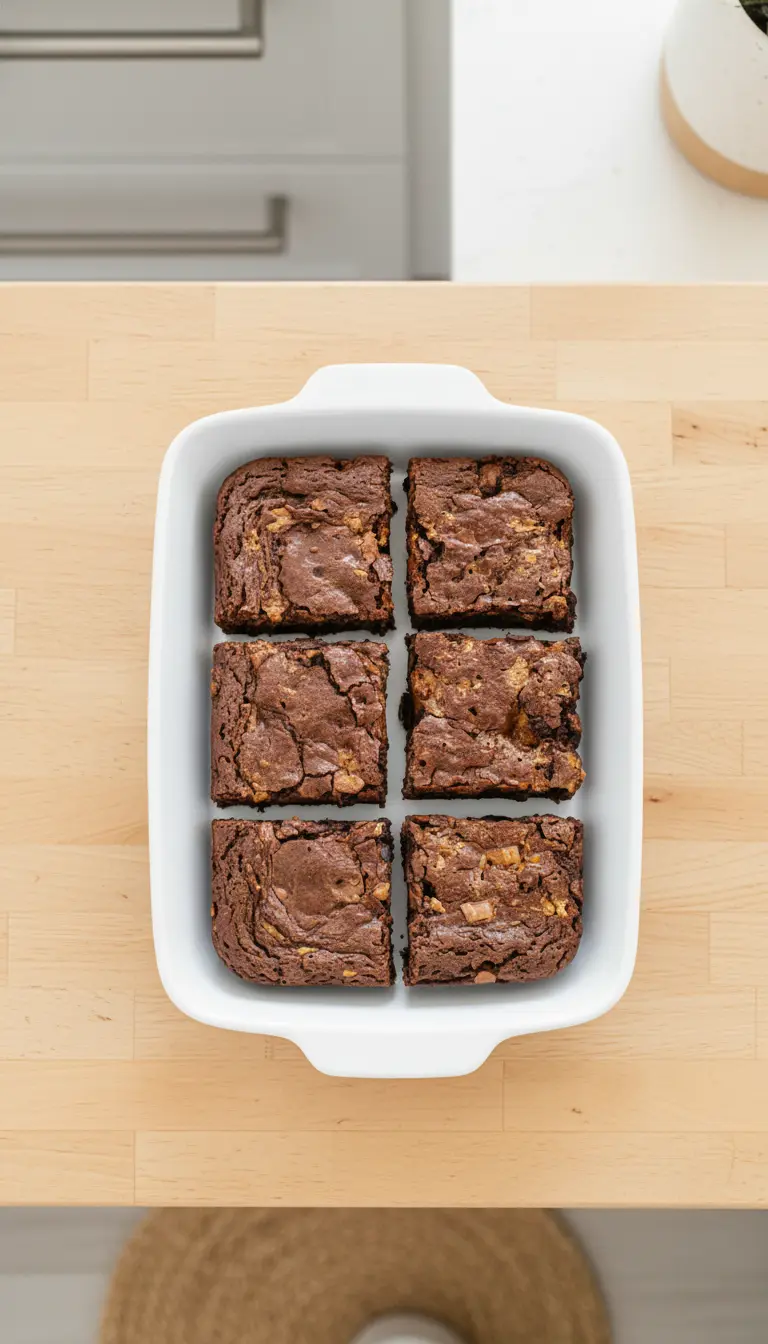
- Preheat oven to 350°F (175°C). Line a 9×13 inch baking pan with parchment paper, leaving an overhang on the sides for easy removal.
- In a large bowl, whisk together the melted butter and granulated sugar until well combined.
- Beat in the eggs one at a time, then stir in the vanilla extract until smooth.
- In a separate medium bowl, whisk together the flour, cocoa powder, baking powder, and salt. Gradually add the dry ingredients to the wet ingredients, mixing until just combined and no streaks of flour remain. Do not overmix.
- Gently fold in ¾ cup of the chopped Butterfinger candy. Pour the batter into the prepared pan and spread evenly. If using, dollop spoonfuls of peanut butter over the top and swirl with a knife. Sprinkle the remaining ¼ cup of Butterfinger pieces over the top.
- Bake for 28-32 minutes, or until the edges are set and a toothpick inserted into the center comes out with moist crumbs (not wet batter).
- Let the brownies cool completely in the pan on a wire rack before lifting out by the parchment paper and slicing into squares.
Notes
- For extra fudgy brownies, use good quality cocoa powder and chocolate.
- Do not overbake! This is key to a moist, chewy texture.
- Chilling the brownies for 30 minutes before cutting will result in cleaner slices.
- Leftover Butterfinger brownies store well at room temperature in an airtight container for up to 4 days, or frozen for longer.