Homemade Ice Cream: Your Guide to Creamy Delights
Homemade Ice Cream
There’s something truly enchanting about homemade ice cream. It’s so much more than just a dessert; it’s a memory in the making, a spoonful of pure joy that tastes like summer itself. I can still vividly recall the magic of making ice cream from scratch with my grandma, the gentle whir of the machine and the delicious anticipation building with every turn, yielding a creamy, dreamy treat that felt like pure enchantment. That feeling of transforming simple ingredients into something so utterly delicious right in your own kitchen is what I’ve been chasing ever since.
Thank you for reading this post, don't forget to subscribe!This guide is all about bringing that magic to your home, helping you unlock the secrets to truly luscious, unbelievably smooth [Homemade Ice Cream], whether you have an old-fashioned churn or you’re going totally no-fuss. While we’re focused on perfecting that rich, creamy goodness, if you’re ever in the mood for something lighter, don’t miss our fantastic 2-ingredient fruit sorbet recipe! For more inspiration or a slightly different take on this classic, I also love recommending this timeless homemade ice cream recipe from TasteCharm – happy scooping!
Homemade Ice Cream: Your Guide to Creamy Delights
Course: DessertsCuisine: AmericanDifficulty: Medium4
servings30
minutes40
minutes300
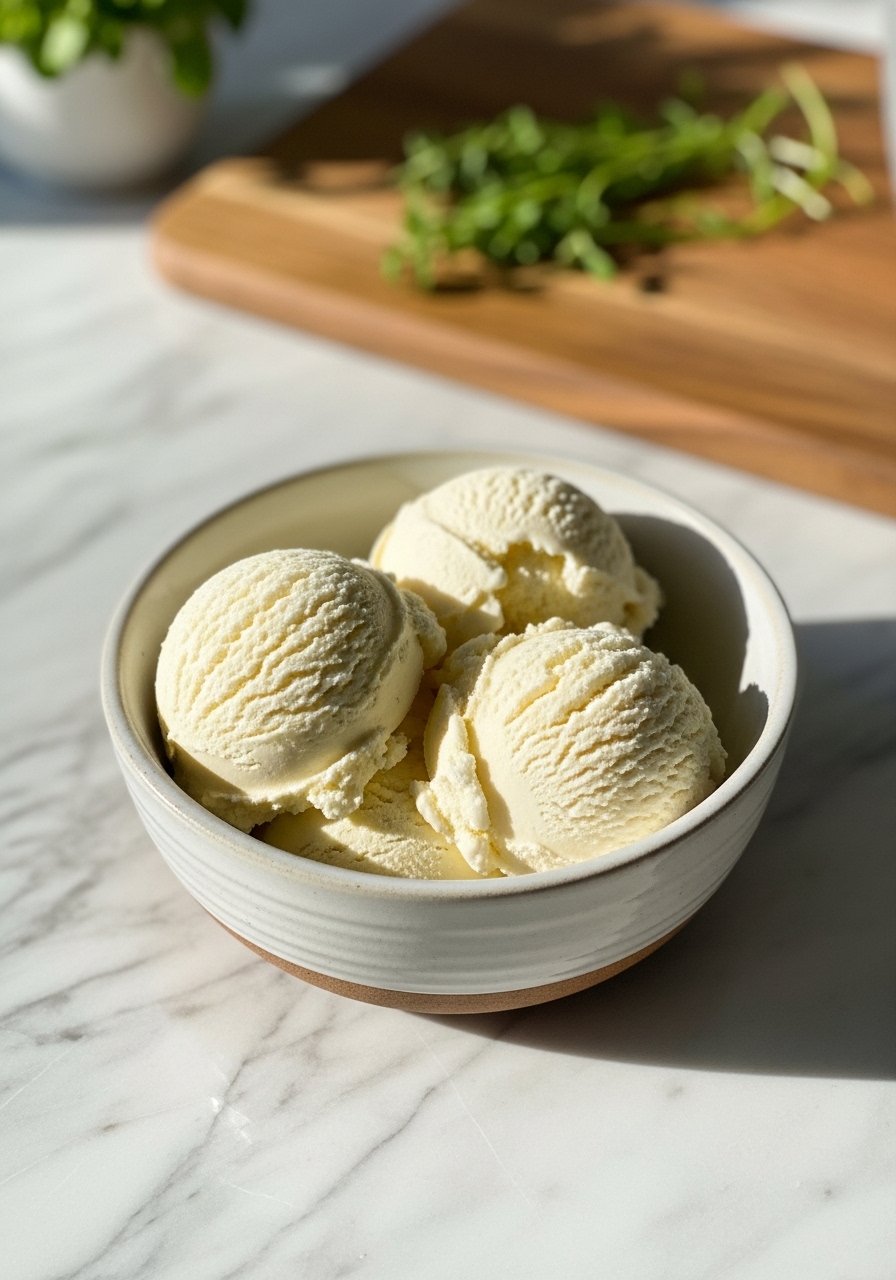
kcalUnlock the secrets to perfectly creamy homemade ice cream with this comprehensive guide, covering both traditional churned and easy no-churn methods for a rich, flavorful dessert every time.
Ingredients
2 cups heavy cream
1 cup whole milk
3/4 cup granulated sugar
1 vanilla bean, scraped, or 1 tsp pure vanilla extract
Pinch of salt
Optional: 3 large egg yolks (for custard base)
Directions
- **For No-Churn (Simplified)**: Chill a large bowl and whisk attachment in the freezer for at least 15 minutes. In the chilled bowl, combine heavy cream, milk, sugar, vanilla, and salt. Whisk vigorously or use an electric mixer on medium-high until soft peaks form. Pour mixture into a freezer-safe container. Cover tightly and freeze for at least 6 hours, or overnight, until firm.
- **For Churned (Traditional Custard Base)**: In a medium saucepan, whisk together egg yolks and half the sugar until pale. Gradually whisk in milk. Add the remaining sugar, cream, vanilla bean (if using), and salt to the saucepan. Cook over medium-low heat, stirring constantly with a wooden spoon, until the mixture thickens slightly and coats the back of the spoon (175-180°F/80-82°C). Do not boil.
- Remove from heat, stir in vanilla extract (if not using a bean). Strain the mixture through a fine-mesh sieve into a clean bowl to remove any cooked egg bits or vanilla bean specks. Place the bowl over an ice bath and stir occasionally until thoroughly chilled, about 1-2 hours. You want it to be very cold.
- Once thoroughly chilled, transfer the mixture to your ice cream maker. Churn according to the manufacturer’s instructions, typically 20-30 minutes, until it reaches the consistency of soft-serve.
- Transfer the soft-serve consistency ice cream to a freezer-safe container. Press a piece of parchment paper directly onto the surface of the ice cream to prevent ice crystals from forming. Cover tightly with a lid.
- Freeze for at least 4 hours, or overnight, to allow the ice cream to harden to a scoopable consistency. For best results, let it sit at room temperature for 5-10 minutes before scooping.
Notes
- Temperature is Key: For churned ice cream, ensure your base is *very* cold before churning. This helps create smaller ice crystals, leading to a smoother, creamier texture. An ice bath is your best friend here!
- Preventing Ice Crystals: Whether no-churn or traditional, press parchment paper or plastic wrap directly onto the surface of the ice cream before freezing. This simple trick dramatically reduces the formation of icy crystals and keeps your scoop delightfully smooth.
- Flavor Infusions: Get creative! Steep fresh mint leaves, orange zest, or coffee beans in your cream and milk mixture as it heats (for churned) or chills (for no-churn) before straining. It adds incredible depth of flavor to your homemade ice cream!