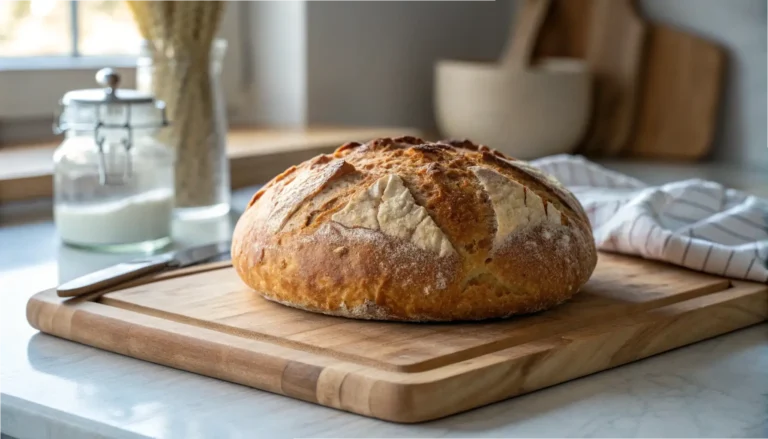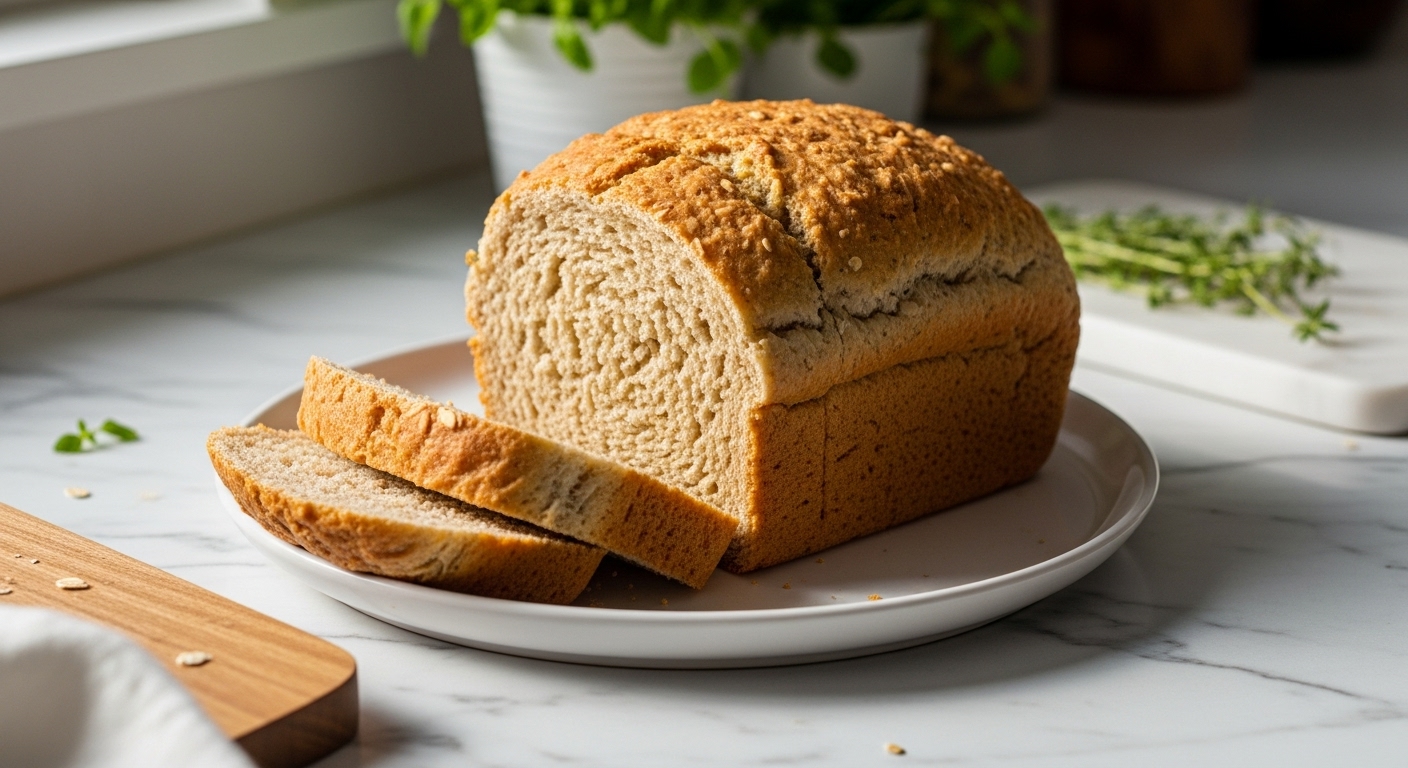
Gluten Free Bread Recipe: Honey Oat Sandwich Loaf
Gluten Free Bread Recipe
Oh, the quest for the perfect gluten free bread recipe! It can often feel like an epic adventure, doesn’t it? I still vividly recall those early days, standing in my kitchen, staring at crumbly, dense ‘bricks’ and genuinely wondering if a soft, airy, truly satisfying slice was an impossible dream without gluten. But, dear baker, the pure elation when you finally, finally crack the code is a feeling like no other, and that’s precisely the story behind my beloved Honey Oat Gluten-Free Sandwich Bread.
Thank you for reading this post, don't forget to subscribe!This isn’t just another loaf; it’s a testament to perseverance, a triumphant victory dance in a loaf pan, born from a deep yearning for wholesome, comforting bread that refuses to compromise on texture or taste. We’re talking incredibly soft, wonderfully fluffy, and subtly sweet bread that’s perfect for sandwiches, toast, or just a simple smear of butter. If you’re passionate about finding that ultimate gluten free bread recipe that truly delivers, this is it – a kitchen memory perfected over countless sunny mornings, designed to bring genuine joy back to your counter.
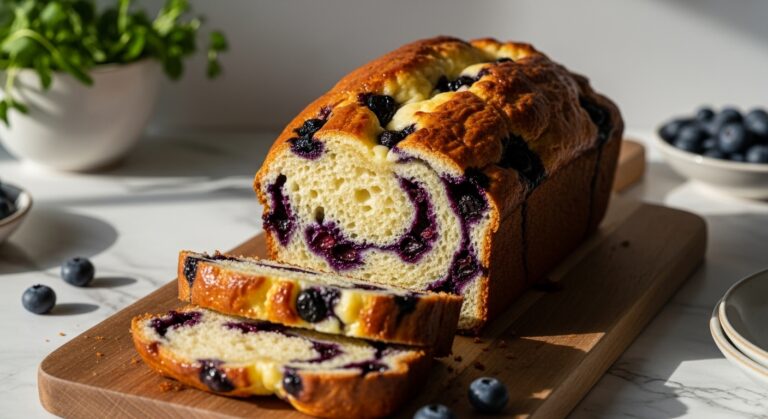
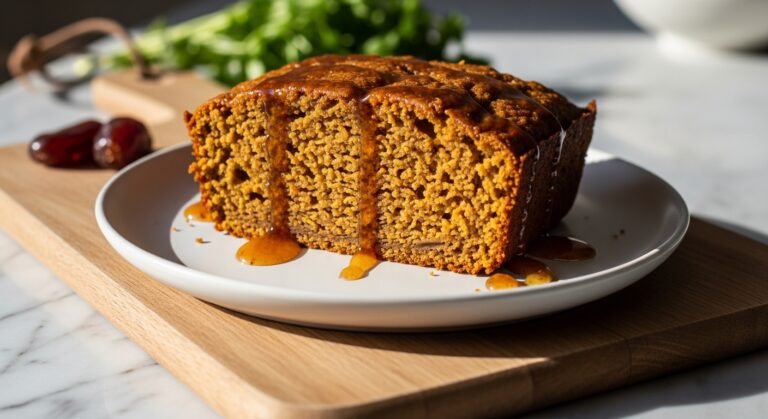
Beyond just being a staple, this recipe will make you fall in love with homemade gluten-free baking all over again, showing just how rich and varied your culinary world can be. And speaking of delightful bakes, if you’re looking for another comforting treat perfect for a cozy afternoon, you might also adore my Spiced Pear and Walnut Bread for a different kind of wholesome sweetness.
Gluten Free Bread Recipe: Honey Oat Sandwich Loaf
Course: BreadsCuisine: AmericanDifficulty: Easy4
servings30
minutes40
minutes300
kcalA truly delicious and incredibly soft Honey Oat Gluten-Free Sandwich Bread recipe that’s perfect for everyday sandwiches, toast, or alongside your favorite soup. Wholesome, easy to make, and wonderfully satisfying.
Ingredients
1 ½ cups warm water (105-115°F / 40-46°C)
2 ¼ teaspoons active dry yeast (1 standard packet)
¼ cup honey
2 tablespoons olive oil, plus more for greasing
1 teaspoon apple cider vinegar
2 cups (240g) gluten-free all-purpose flour blend (with xanthan gum or add ½ tsp separately)
1 cup (90g) gluten-free oat flour
½ cup (60g) tapioca flour (or arrowroot starch)
2 teaspoons xanthan gum (if not in blend, see notes)
1 ½ teaspoons salt
½ cup gluten-free rolled oats, plus more for topping
1 large egg, at room temperature
Directions
- In a large mixing bowl, combine warm water, yeast, and honey. Stir gently with a whisk and let sit for 5-10 minutes until the mixture is visibly foamy.
- Add olive oil, apple cider vinegar, and the room temperature egg to the yeast mixture. Whisk thoroughly to ensure everything is well combined.
- In a separate medium bowl, whisk together the gluten-free all-purpose flour, oat flour, tapioca flour, xanthan gum (if your blend doesn’t include it), and salt until fully incorporated.
- Gradually add the dry ingredients to the wet ingredients, mixing with a stand mixer fitted with a paddle attachment (or a sturdy hand mixer) on medium speed for 3-5 minutes until the dough is smooth and well combined. The dough will have a thick, batter-like consistency.
- Gently stir in the ½ cup of gluten-free rolled oats until they are evenly distributed throughout the dough.
- Thoroughly grease a 9×5 inch loaf pan with olive oil or cooking spray. Spoon the dough into the prepared loaf pan, then use a wet spatula to smooth the top surface evenly.
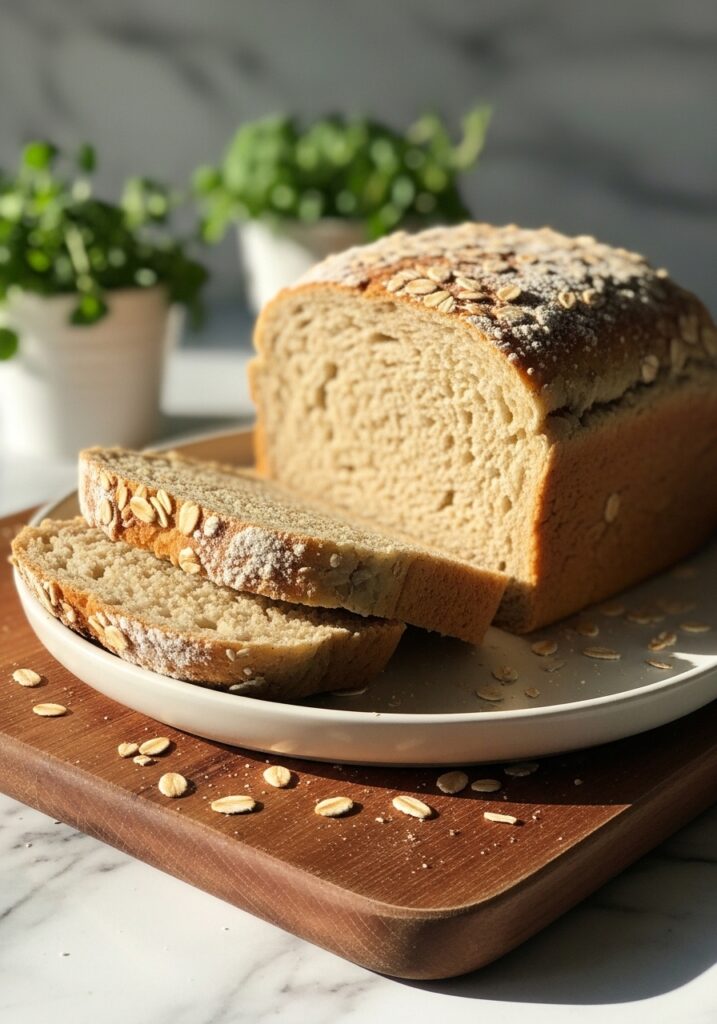
- Sprinkle the top generously with additional gluten-free rolled oats, pressing them gently into the dough for a lovely finish.
- Cover the loaf pan loosely with plastic wrap or a clean, damp kitchen towel. Let the dough rise in a warm, draft-free place for 45-60 minutes, or until it has increased in volume by about 50-75%.
- While the dough is rising, preheat your oven to 375°F (190°C).
- Bake for 45-55 minutes, or until the top is deeply golden brown and an instant-read thermometer inserted into the center of the loaf registers between 200-210°F (93-99°C). If the top begins to brown too quickly, you can loosely tent it with aluminum foil.
- Remove the loaf from the oven and let it cool in the pan for 10-15 minutes before carefully transferring it to a wire rack to cool completely. Allowing gluten-free bread to cool entirely is crucial for best texture and slicing, as cutting it warm can lead to crumbling.
Notes
- The Gluten-Free Flour Secret: Using a good quality gluten-free all-purpose flour blend is key for success. If your chosen blend doesn’t already contain xanthan gum, absolutely do not skip adding it separately. It’s the magic ingredient that provides the much-needed structure and elasticity to gluten-free bread, perfectly mimicking gluten’s role for a delightfully soft and pliable crumb.
- Warmth is Your Friend: For optimal yeast activity and a great rise, make sure your water is precisely between 105-115°F (40-46°C). Equally important is a slightly warm, draft-free environment for the dough’s rise. I often find a cozy spot near a sunny window with natural morning light, or even a very lightly warmed (and then turned off!) oven, works wonders.
- Patience for Perfect Slices: It’s incredibly tempting to slice into a warm, fragrant loaf straight from the oven, but with gluten-free bread, patience truly is a virtue! Allowing the bread to cool completely on a wire rack is essential; it helps the internal structure set properly, preventing a gummy texture and ensuring you get clean, stable slices. Trust me, the wait is absolutely worth it for that perfect sandwich!