The Ultimate Guide to the Biscuit Mixing Method for Flaky Layers
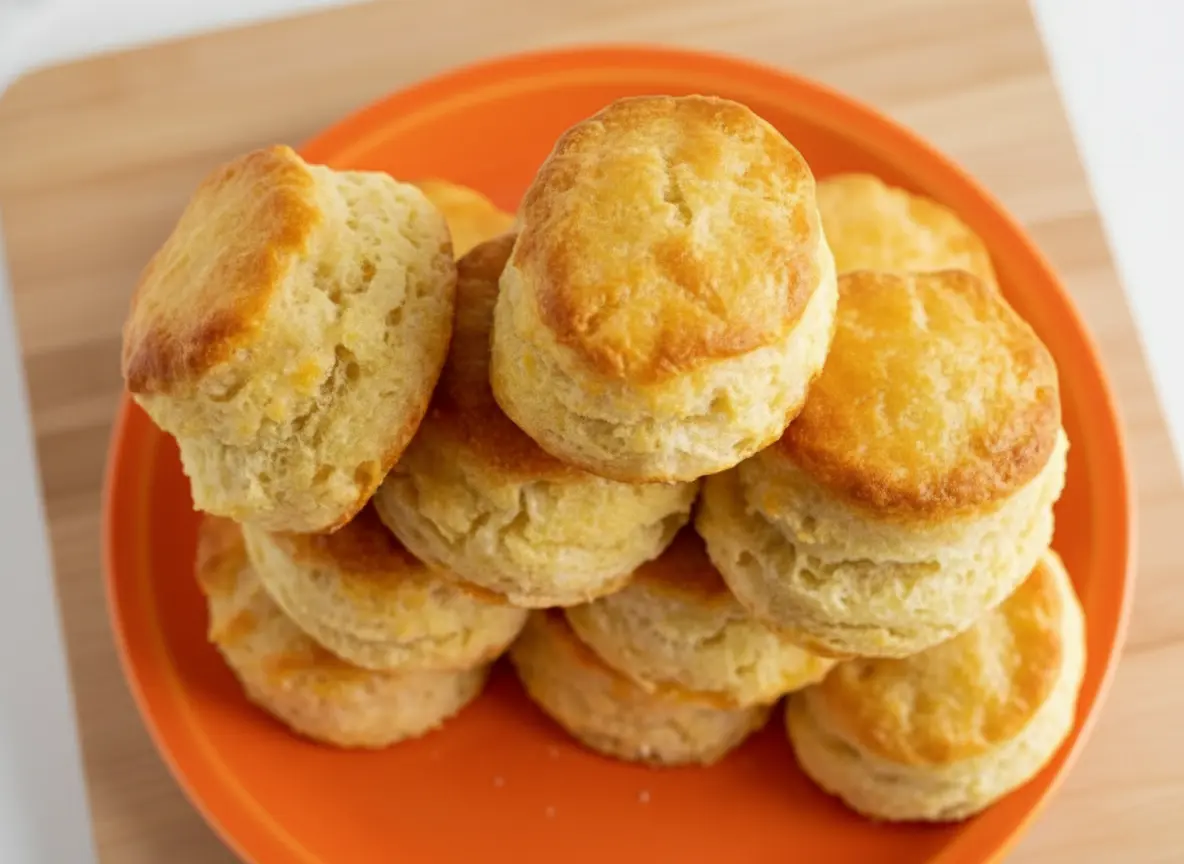
Mastering the Biscuit Mixing Method was the very first technique that truly humbled me in my own kitchen, serving as a reminder that great baking requires both a gentle touch and a bit of scientific understanding. I vividly remember waking up early on a Saturday, determined to replicate the tall, craggy biscuits from old family photos, only to end up with something resembling a flat, heavy cracker as the morning light spilled across my marble countertop. It was a pivotal moment where I realized I was rushing the delicate interaction between cold fat and flour, which is the absolute secret to creating those iconic, steam-leavened layers we all crave.
Thank you for reading this post, don't forget to subscribe!This journey became a personal mission for me as I turned on my Bake Mode and began to meticulously study the science of the crumb, learning exactly when to stop mixing so the pea-sized lumps of butter remained perfectly intact. The first time a batch finally rose tall and proud in the oven felt like a hard-won triumph, much like the satisfaction I felt when perfecting my easy drop biscuits with jam recipe. Ultimately, it was a lesson in patience and the beauty of working by hand, and I am so excited to share that clarity with you so your home can smell like buttery success every single weekend.
The Science Behind the Biscuit Mixing Method
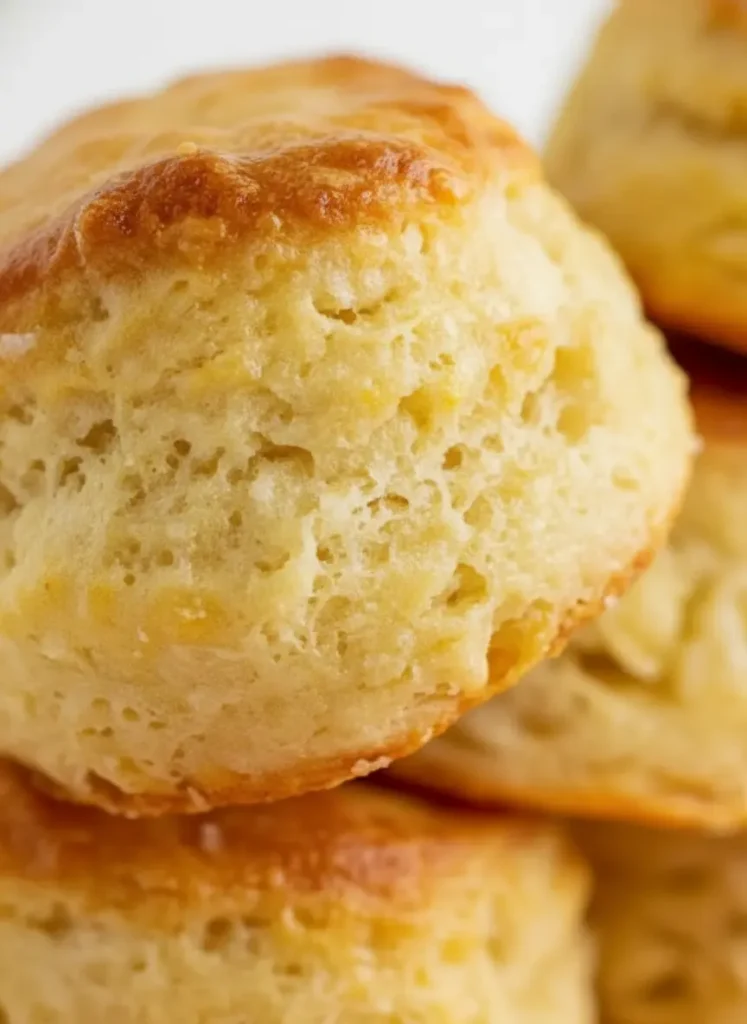
Understanding the mechanics of the biscuit mixing method is the first step toward breakfast perfection. When you incorporate solid, cold fat into dry ingredients, you are not aiming for a smooth batter. Instead, you are creating tiny pockets of fat coated in flour. As the biscuits bake in a hot oven, the water in the butter evaporates into steam, which pushes the layers of dough apart. This is what creates that incredible height and the signature flakiness that makes a biscuit so satisfying to pull apart. Keeping your ingredients cold ensures that the fat does not melt prematurely, which would result in a tough, bread-like texture rather than a tender, shattered crumb.
Choosing the Right Fat for the Biscuit Mixing Method
The choice of fat is crucial when applying the biscuit mixing method to your baking routine. While some use lard or shortening, high-quality unsalted butter is our preference for the superior flavor and the water content that generates steam. You want your butter to be ice cold, straight from the refrigerator or even the freezer. In our kitchen, we often cube the butter and then place it back in the cold for ten minutes before we even touch the flour. This extra step ensures that even the heat from your kitchen environment does not soften the fat too much, preserving those vital chunks that lead to a lofty rise and a rich, golden finish.
Step by Step Biscuit Mixing Method Techniques
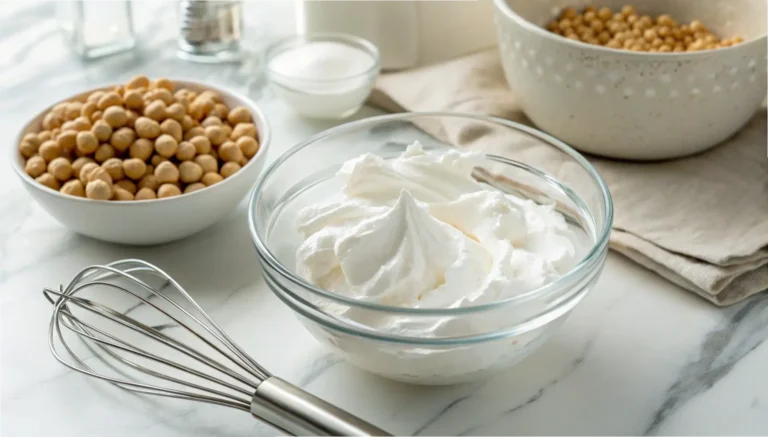
To execute the biscuit mixing method properly, you must use a light hand. Start by whisking your dry ingredients in a ceramic bowl to ensure the leavening agents are evenly distributed. Add your cold butter cubes and use a pastry cutter or two knives to work the fat into the flour. You are looking for a mixture that resembles coarse meal with some lumps the size of small peas. This uneven texture is exactly what you want. Once you add your cold buttermilk, stir just until a shaggy dough forms. Over-mixing at this stage will develop too much gluten, which is the enemy of a light and airy biscuit.

The Folding Secret in the Biscuit Mixing Method
Many people skip the folding process, but it is a vital part of the biscuit mixing method if you want maximum height. Once your dough is on the wooden cutting board, gently pat it into a rectangle. Fold the dough over itself, rotate it, and repeat this process about four or five times. This is a simplified version of lamination, creating literal physical layers of dough and fat. Every fold you make is adding another level of flakiness to the final product. Be careful not to press too hard; you want to maintain the airiness you have built. Use a sharp biscuit cutter and press straight down without twisting to ensure the edges stay open for the rise.
Common Pitfalls of the Biscuit Mixing Method
Even experienced bakers can run into trouble with the biscuit mixing method if they lose focus on temperature. If you find your dough getting sticky or soft, do not hesitate to put the whole bowl in the fridge for fifteen minutes. Another common mistake is using dull cutters or twisting them when cutting out the biscuits. Twisting seals the edges of the dough, preventing the steam from expanding upward and resulting in a lopsided or stunted biscuit. Finally, ensure your oven is fully preheated to a high temperature. That initial blast of heat is what triggers the steam reaction and sets the structure of your beautiful, stacked creations. Now, let’s bring this memory to your kitchen…
The Ultimate Guide to the Biscuit Mixing Method for Flaky Layers
Course: GuidesCuisine: AmericanDifficulty: Intermediate4
servings30
minutes40
minutes300
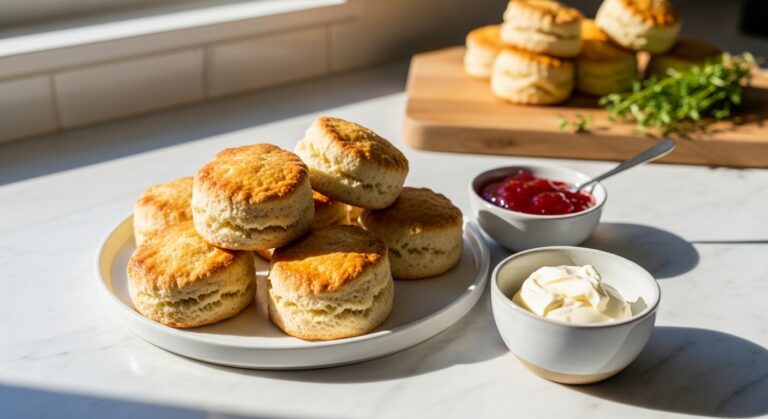
kcalA foundational guide to mastering the biscuit mixing method to create tall, buttery, and incredibly flaky biscuits from scratch.
Ingredients
2 cups All-purpose flour
1 tablespoon Baking powder
1/2 teaspoon Baking soda
1 teaspoon Granulated sugar
1 teaspoon Salt
1/2 cup Unsalted butter, cubing and very cold
3/4 cup Buttermilk, cold
Directions
- Preheat your oven to 425°F (220°C) and line a baking sheet with parchment paper.
- In a large ceramic bowl, whisk together the flour, baking powder, baking soda, sugar, and salt until well combined.
- Add the cold butter cubes to the flour mixture. Using a pastry blender, cut the butter into the flour until the mixture resembles coarse crumbs with some pea-sized pieces remaining.
- Make a well in the center and pour in the cold buttermilk. Stir gently with a fork just until a shaggy dough forms and no dry streaks remain.
- Turn the dough out onto a lightly floured wooden cutting board. Gently pat into a rectangle, fold in half, and repeat 4-5 times. Cut with a 2.5-inch cutter and bake for 12-15 minutes until golden brown.
Notes
- Always keep your buttermilk and butter in the fridge until the very second you need them.
- If the dough feels warm at any point, chill it in the freezer for 5 minutes.
- Do not twist the biscuit cutter; press straight down for the best rise.
- For extra golden tops, brush with a little melted butter immediately after baking.