Easy Dutch Oven No Knead Bread: Your First Loaf!
Easy Dutch Oven No Knead Bread
There are few kitchen moments as satisfying as pulling a warm, crusty loaf of homemade bread from the oven, and my Easy Dutch Oven No Knead Bread recipe has truly been a game-changer, transforming my kitchen into an artisan bakery with practically no effort. I still remember the first time I heard ‘no-knead bread’ – it sounded like pure magic, almost too good to be true, especially coming from a family where traditional baking was practically an Olympic sport.
Thank you for reading this post, don't forget to subscribe!Even my grandma, a formidable baker whose flour-dusted hands worked wonders, eyed me with suspicion when I excitedly told her about this ‘no-knead’ concept! But curiosity (and a serious craving for that perfect crunchy crust) won out, and after a little real talk about patience while the dough did its overnight bubbling thing, that first glorious loaf emerged from my Dutch oven, filling the house with an aroma that felt like a warm hug. If you’re looking for another amazing bread option, or perhaps need something for different dietary needs, you might also love our gluten-free artisan bread recipe.
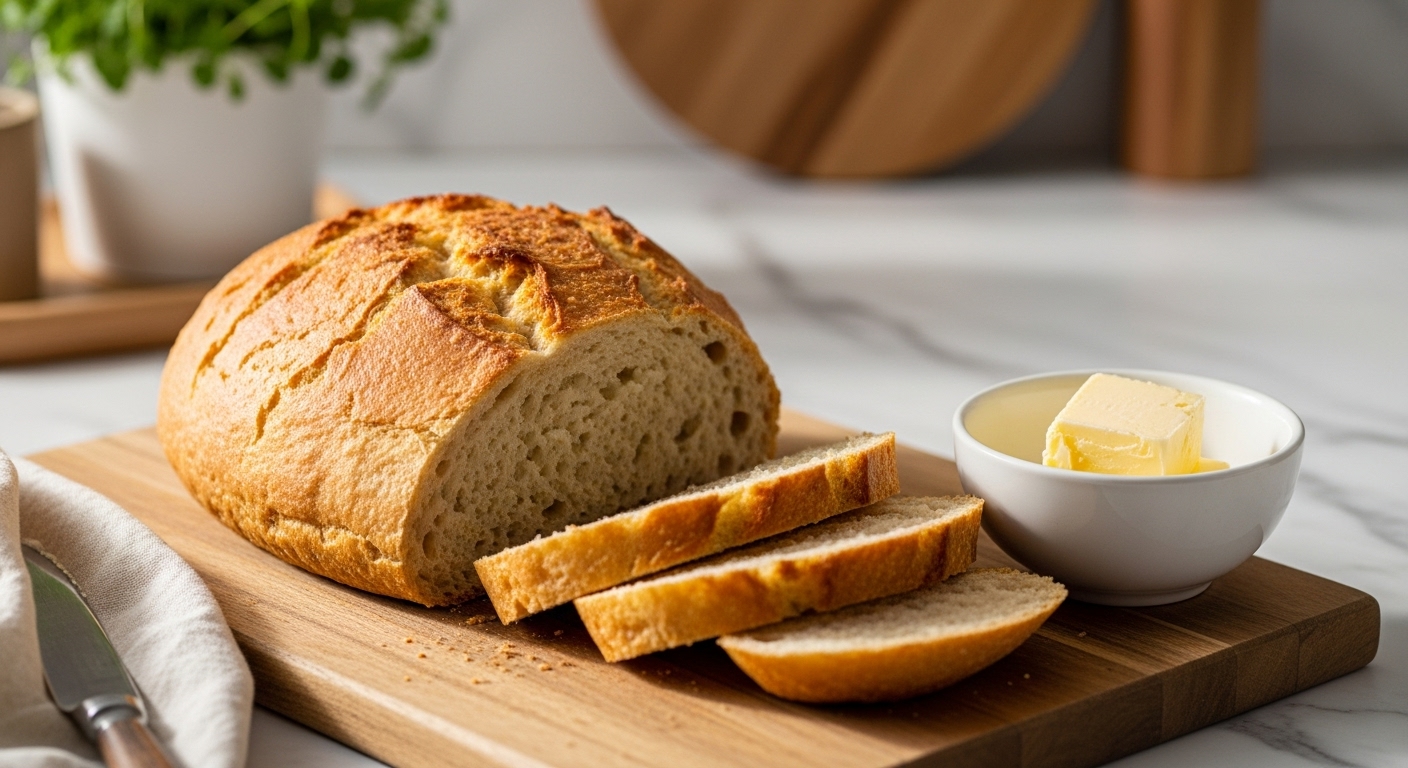
This Easy Dutch Oven No Knead Bread quickly became a celebrated small victory in our kitchen, proving that incredible, homemade bread doesn’t need to be intimidating – it’s truly a secret weapon for anyone wanting that hearty, warm bread without the arm workout! Imagine slicing into this beauty, still warm, ready to accompany a cozy soup, or even better, serving it alongside some delicious roast beef sliders for an unforgettable meal.
Easy Dutch Oven No Knead Bread: Your First Loaf!
Course: BreadsCuisine: AmericanDifficulty: Easy4
servings30
minutes40
minutes300
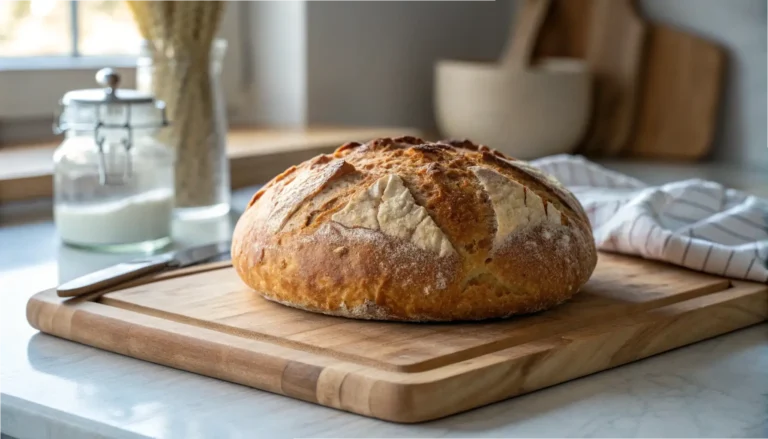
kcalMaster the art of homemade bread with this incredibly easy Dutch Oven No Knead Bread recipe! Achieve a perfectly crusty exterior and a delightfully chewy interior with minimal effort and no kneading.
Ingredients
3 cups (360g) all-purpose flour
1 1/2 teaspoons (9g) salt
1/2 teaspoon (2g) active dry yeast
1 1/2 cups (360ml) warm water (about 105-115°F / 40-46°C)
Extra flour for dusting
Parchment paper
Directions
- In a large bowl, whisk together the all-purpose flour, salt, and active dry yeast until they are well combined.
- Pour in the warm water. Using a wooden spoon or a sturdy spatula, mix until a shaggy, sticky dough forms. Be careful not to overmix; just ensure all the flour is hydrated. Do not knead.
- Cover the bowl tightly with plastic wrap. Let the dough rest at room temperature (ideally 68-72°F / 20-22°C) for 12-18 hours, or until the surface is visibly dotted with bubbles.
- Lightly flour a clean countertop or a large wooden cutting board. Gently scrape the dough out of the bowl onto the floured surface. With floured hands, lightly fold the dough over itself a few times to create a rough ball, tucking the edges underneath to form tension on top. Avoid excessive handling.
- Lay a piece of parchment paper (large enough to line your Dutch oven) on the floured surface. Carefully transfer the dough ball, seam-side down, onto the center of the parchment paper. Loosely cover with plastic wrap or a clean kitchen towel and let it rest for another 30 minutes while your oven preheats.
- Place your empty Dutch oven (with its lid) into the cold oven. Preheat the oven to 450°F (232°C). Allow the Dutch oven to heat for at least 30 minutes after the oven reaches the target temperature.
- Carefully remove the intensely hot Dutch oven from the oven. Using the parchment paper as a sling, gently lower the dough ball into the preheated Dutch oven. If desired, you can score the top of the dough with a sharp knife or razor blade.
- Cover the Dutch oven with its lid and carefully place it back into the hot oven. Bake for 30 minutes.
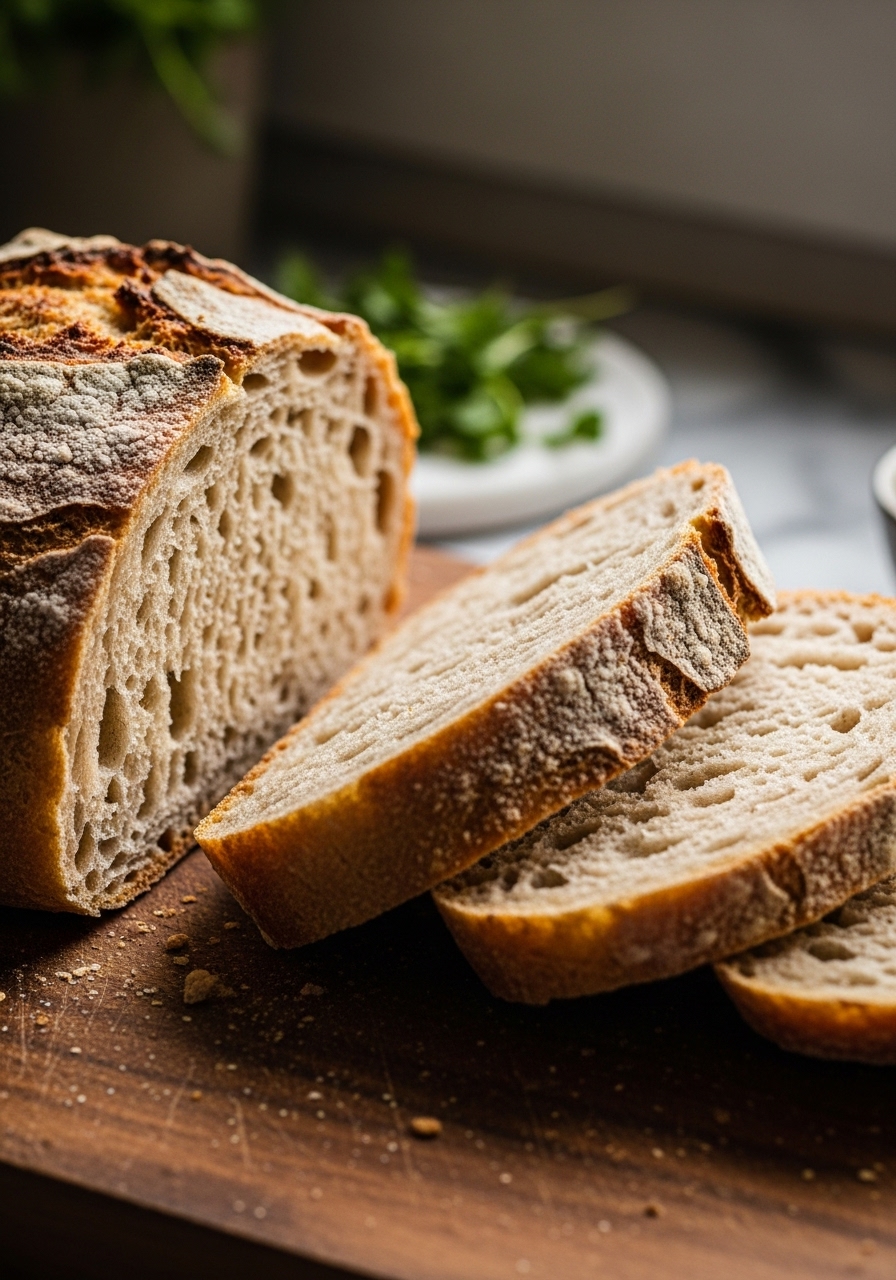
- After 30 minutes, remove the lid. Continue baking for another 15-20 minutes, or until the crust is deeply golden brown and sounds hollow when tapped.
- Carefully remove the bread from the Dutch oven using the parchment paper and transfer it to a wire rack to cool completely. This crucial cooling step (at least an hour!) allows the crumb to set and prevents a gummy interior.
Notes
- The Patience Principle: Don’t rush the first rise! That long, slow fermentation is truly what develops the amazing flavor and open, airy texture of this bread. If your kitchen is a bit chilly, try finding a slightly warmer (but not hot) spot, like inside a cold oven with the light on, but avoid anything too warm that would speed it up excessively.
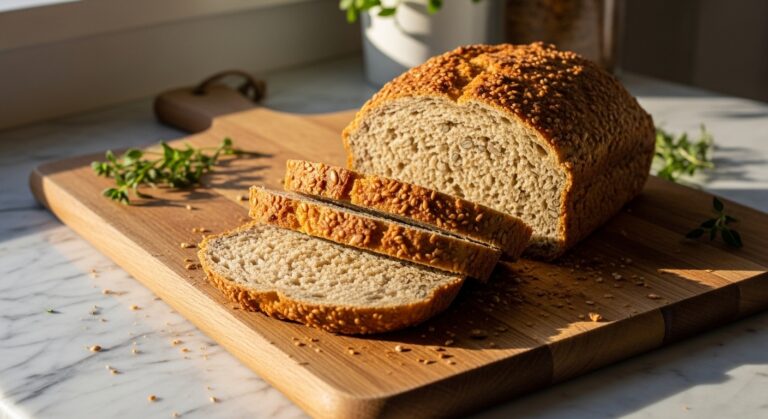
- Flavor Boost: For an even deeper, more complex flavor profile and a slightly chewier texture, try substituting 1/4 cup (30g) of the all-purpose flour with whole wheat flour or rye flour. It adds a lovely nuttiness that pairs beautifully with the rustic crust.
- Crispier Crust Secret: If you’re a true fan of that extra-crackly crust (who isn’t?!), once the bread is out of the Dutch oven after its initial bake, you can carefully remove it from the parchment paper and bake it directly on the oven rack for an additional 5-7 minutes at 400°F (200°C). Keep a close eye on it to prevent burning!