Best Gluten-free Artisan Bread: Your New Go-To Recipe!

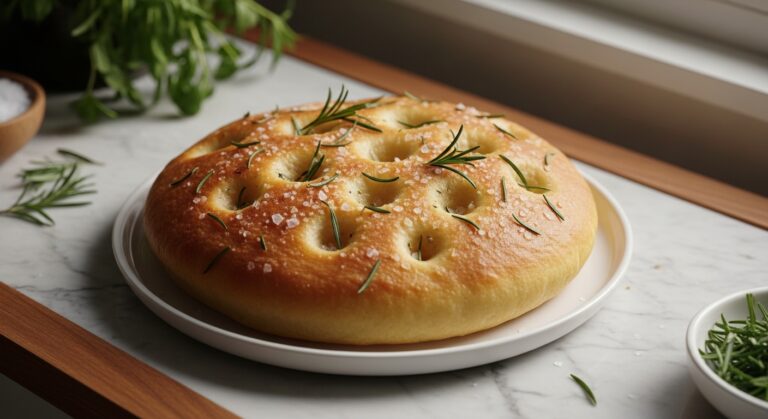
Gluten-free Artisan Bread
Oh, gluten-free artisan bread! For years, I truly longed for a loaf that actually felt like real bread – not a dense, gummy brick or a sad, crumbly mess. My kitchen became a culinary laboratory, filled with countless trials, errors, and a fair share of laughter (and yes, maybe a few tears over wasted flour) in the quest for that elusive rustic, chewy crumb and perfectly crispy crust. It was a genuine adventure, seeking that satisfying thump when tapped, a sound only true bread makes.
Thank you for reading this post, don't forget to subscribe!After much experimentation, and what felt like an endless pursuit, I finally cracked the code! This gluten-free artisan bread isn’t just a collection of ingredients; it’s become my family’s secret weapon, bringing back those cherished memories of Sunday mornings, the intoxicating smell of freshly baked bread filling every corner of the kitchen, a warmth only true homemade goodness can bring. If you’ve ever marvelled at the simplicity and incredible texture of a classic no-knead artisan bread, prepare to be equally amazed at how wonderfully adaptable those principles are to a gluten-free world.
Get ready to bake a loaf that will make you completely forget it’s gluten-free! Imagine pulling it from the oven, golden brown and fragrant, ready to be slathered with butter, dipped in olive oil, or even transformed into the most divine base for something like incredible roast beef sliders. This isn’t just bread; it’s an experience, a triumph, and a staple you’ll wonder how you ever lived without.
Gluten-free Artisan Bread: Your New Go-To Recipe!
Course: BreadsCuisine: AmericanDifficulty: Medium4
servings30
minutes40
minutes300
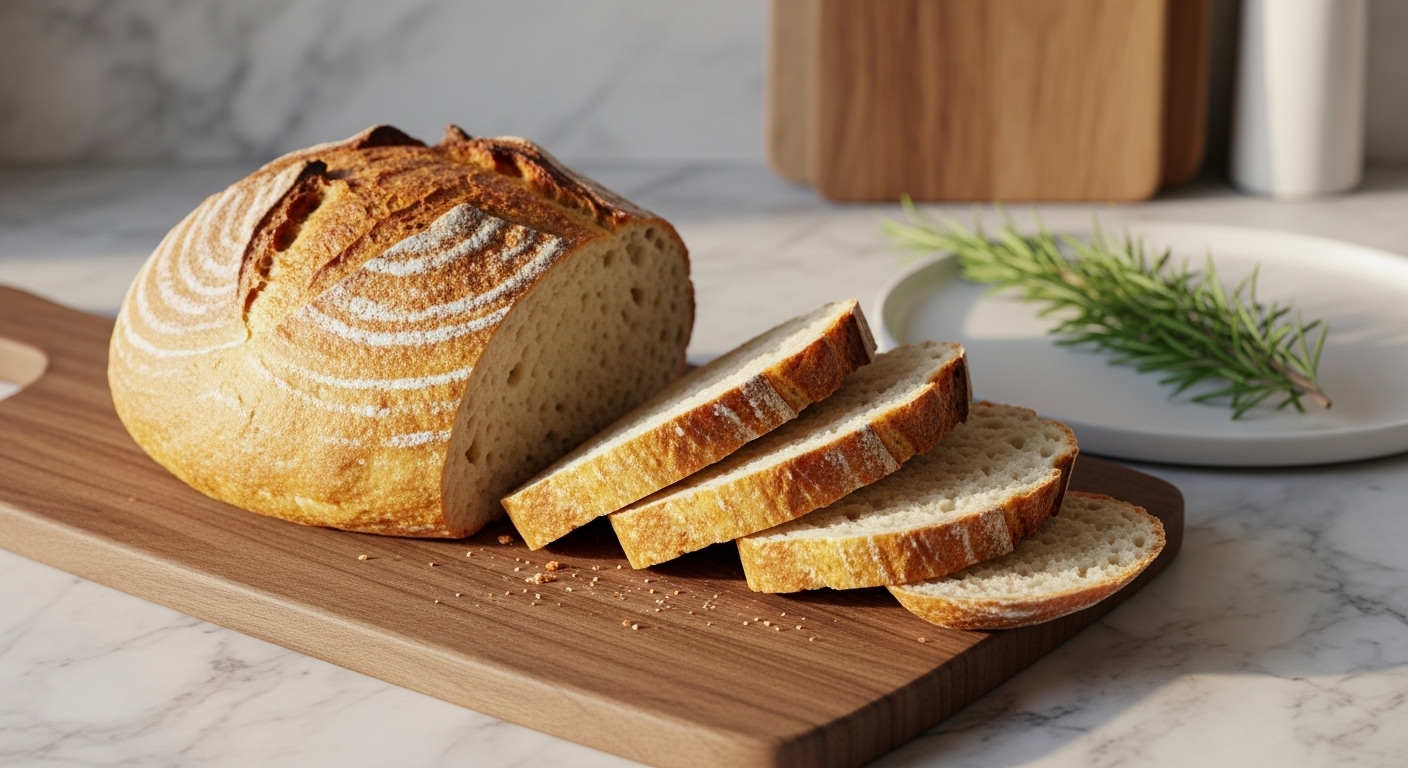
kcalThis gluten-free artisan bread boasts a delightfully crispy crust and a soft, airy interior, making it the perfect everyday loaf that happens to be gluten-free!
Ingredients
3 ½ cups (450g) gluten-free all-purpose flour blend (with xanthan gum, or add ½ tsp if not included)
1 ½ teaspoons salt
1 teaspoon instant yeast
1 ½ cups (360ml) warm water (105-115°F / 40-46°C)
1 tablespoon olive oil (for bowl)
Extra gluten-free flour for dusting
Directions
- In a large ceramic bowl, whisk together the gluten-free flour blend, salt, and instant yeast. Make sure these are well combined.
- Gradually add the warm water to the dry ingredients, mixing with a wooden spoon or spatula until a shaggy, sticky dough forms. It won’t be like regular bread dough, don’t worry about kneading.
- Lightly grease another large bowl with olive oil. Transfer the dough to the greased bowl, cover it with plastic wrap, and let it rise in a warm spot in your kitchen (like near a sunny east window!) for 2-3 hours, or until doubled in size.
- About 30 minutes before baking, place your Dutch oven (with the lid) in the oven and preheat to 450°F (230°C). This is key for that crispy crust!
- Once the Dutch oven is hot and the dough has risen, carefully remove the Dutch oven from the oven. Line it with parchment paper, leaving generous overhangs.
- Gently scrape the dough from its bowl onto a lightly floured wooden cutting board, shaped roughly into a round. Carefully transfer the dough, still on the parchment paper, into the hot Dutch oven.
- Using a sharp knife or a bread lame, score the top of the loaf with an ‘X’ or a few slits. This helps with expansion.
- Cover the Dutch oven and bake for 30 minutes. Then, remove the lid and bake for an additional 15-20 minutes, or until the crust is deeply golden brown and sounds hollow when tapped.
- Carefully remove the bread from the Dutch oven using the parchment paper overhangs. Transfer it to a wire rack on the marble countertop to cool completely before slicing and enjoying.
Notes
- The Perfect Crust Secret: Don’t skimp on preheating that Dutch oven! Getting it screaming hot before the dough goes in is what gives you that incredible, crunchy crust we all love. It mimics a professional bread oven!
- Gluten-Free Flour Matters: Not all gluten-free flour blends are created equal. If your blend doesn’t contain xanthan gum, add ½ teaspoon to the dry ingredients. This little helper gives your bread structure and elasticity, preventing it from crumbling.
- Listen to Your Dough: Gluten-free dough can be tricky. Instead of focusing on traditional ‘kneading,’ think ‘mixing until combined.’ It will be wetter and stickier than wheat dough, and that’s perfectly normal! Don’t overwork it, just let it do its thing during the rise.