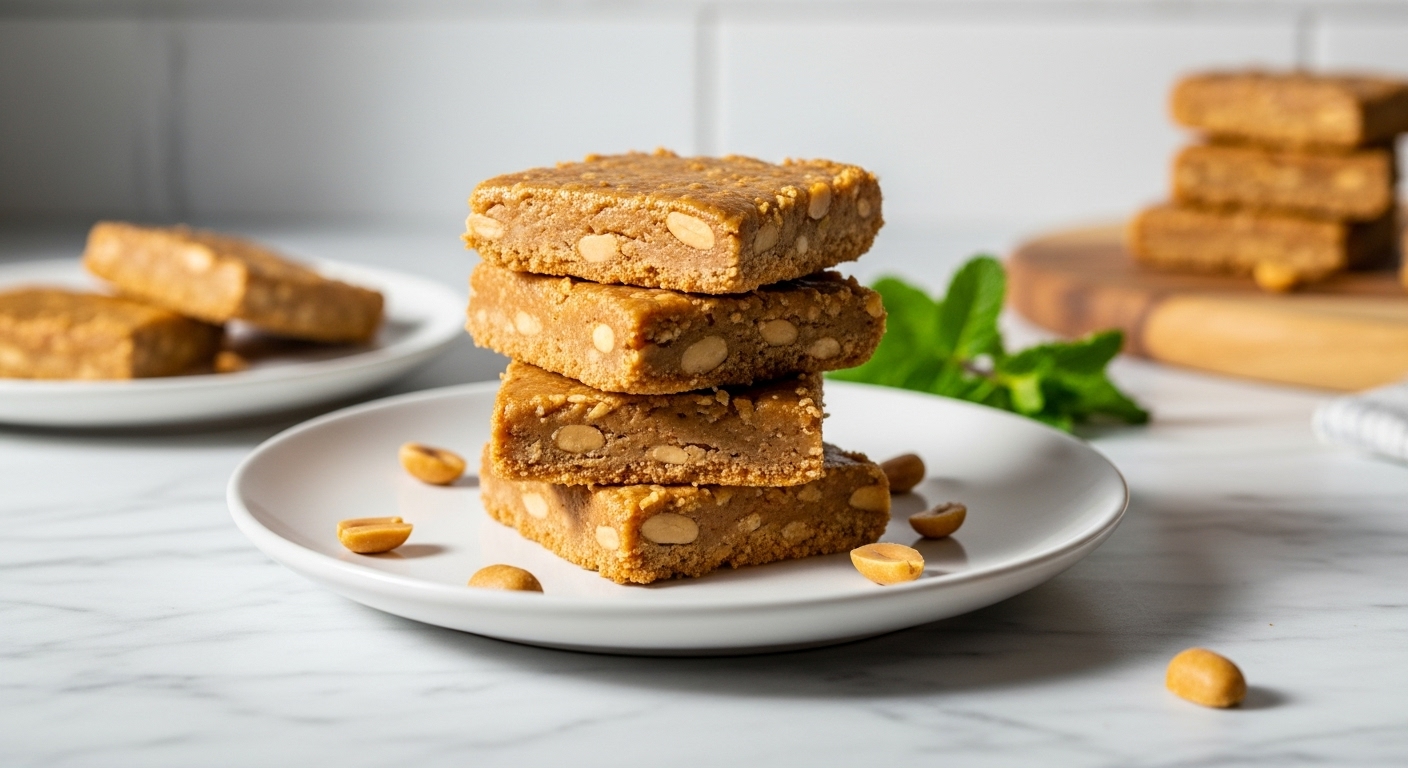
Peanut Butter No-Bake Bars: 3-Ingredient Dream
Peanut Butter No-Bake Bars
There are days when the oven feels less like a friend and more like a fiery adversary, especially when a relentless sweet craving strikes. That’s precisely when these Peanut Butter No-Bake Bars swoop in as a delicious, no-fuss hero in my kitchen! I honestly believe they’re a little bit magic, transforming just three simple ingredients into an irresistible dessert that requires zero oven time and minimal cleanup. This recipe is pure “real talk” simplicity, designed for maximum flavor with minimum effort, making you feel like a kitchen wizard without having to cast any complicated spells.
Thank you for reading this post, don't forget to subscribe!My journey with these bars started years ago, inspired by a faded, handwritten note in my grandma’s old recipe box. Her version was always simple, but my early attempts usually involved a few more steps and a lot more fuss. I’ve since perfected my own take, stripping it down to its delicious essence, capturing that pure taste of nostalgia. And if you’re a fan of fuss-free desserts that still deliver on flavor, you might also adore something like these Blueberry Pie Bars with Oatmeal Crumble – another fantastic bar recipe that proves simplicity can be utterly sensational.
The absolute best part about these 3-Ingredient Peanut Butter No-Bake Bars? No oven required, meaning more time for leisurely sips of coffee and less time sweating in a hot kitchen. If your sweet tooth loves a simple, satisfying treat as much as mine does, you’ll also want to check out my Easy Strawberry Crunch Bars for another quick win. Get ready to whip up some pure, unadulterated joy!

Peanut Butter No-Bake Bars: 3-Ingredient Dream
Course: DessertCuisine: AmericanDifficulty: Easy4
servings30
minutes40
minutes300
kcalWhip up these incredibly easy 3-ingredient Peanut Butter No-Bake Bars for a quick, delicious, and crowd-pleasing dessert that requires zero oven time!
Ingredients
1 ½ cups creamy peanut butter (such as Jif or Skippy)
1 cup powdered sugar (confectioners’ sugar)
1 ½ cups quick-cooking rolled oats
Optional: ½ cup chocolate chips (for topping)
Directions
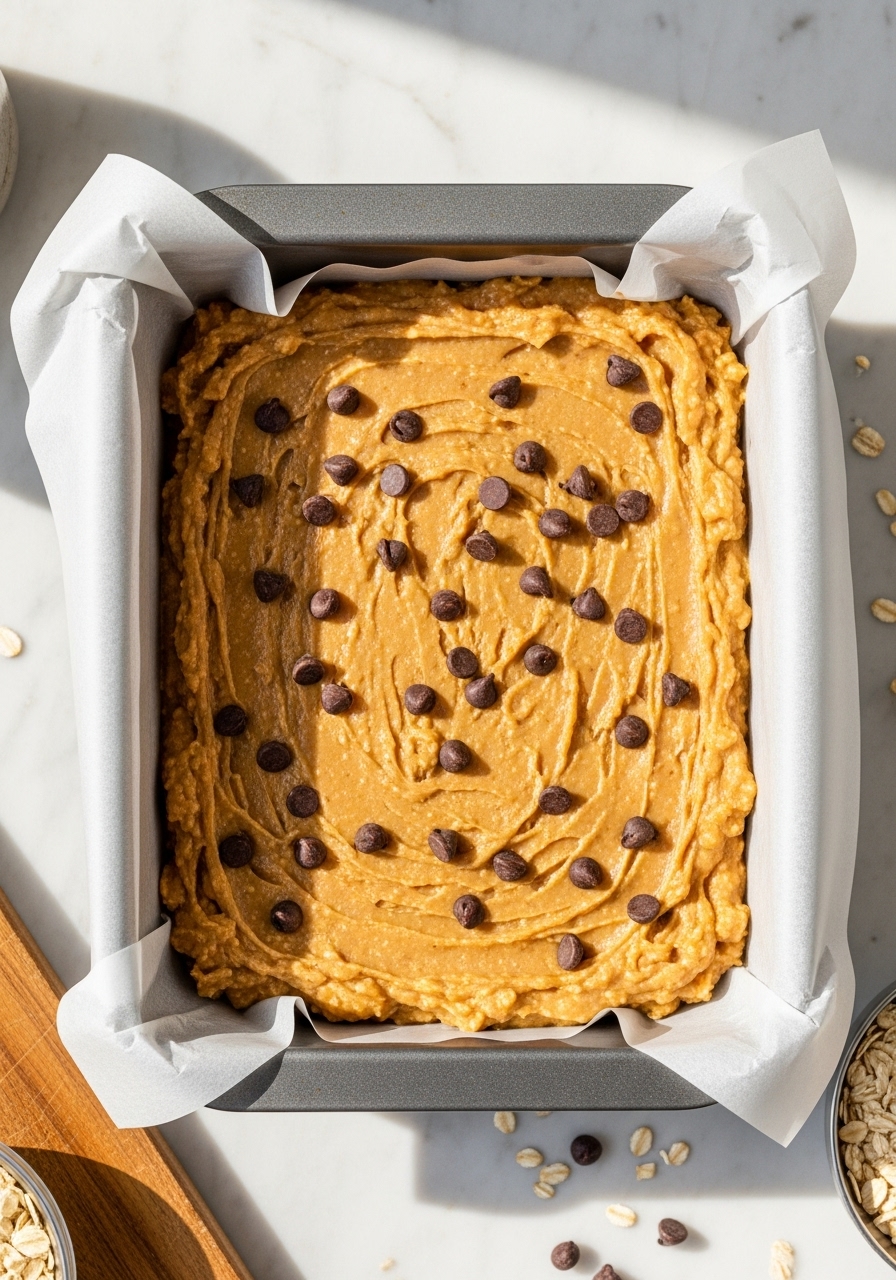
- Line an 8×8 inch baking pan with parchment paper, leaving an overhang on the sides for easy removal.
- In a large mixing bowl, combine the peanut butter and powdered sugar. Stir well with a sturdy spoon or spatula until completely smooth and combined. The mixture will be quite thick!
- Add the quick-cooking rolled oats to the peanut butter mixture. Mix thoroughly until the oats are evenly distributed and everything is well coated. You might find it easiest to use your hands to really incorporate all the oats into the sticky peanut butter mixture.
- Press the mixture firmly and evenly into the prepared baking pan. Use the back of a spoon, a flat bottomed glass, or your hands to ensure it’s tightly compacted and smooth on top.
- If using, sprinkle chocolate chips evenly over the top of the pressed mixture. Gently press them down slightly so they adhere to the bars.
- Refrigerate the pan for at least 1 hour, or until the bars are firm enough to easily slice.
- Use the parchment paper overhang to lift the entire slab of bars out of the pan. Place on a cutting board and slice into 16 squares.
- Store any leftover bars in an airtight container in the refrigerator for up to a week. Enjoy!
Notes
- The Peanut Butter Pick: For the best results and consistency, stick with a classic creamy peanut butter like Jif or Skippy. Natural peanut butter (the kind that separates) tends to be oilier and can make the bars too greasy or crumbly.
- Sweetness Control: If you prefer a less sweet treat, start with ¾ cup of powdered sugar and taste the mixture before adding the oats. You can always add a little more if you like, or even a dash of vanilla extract for extra flavor depth!
- Chocolate Lover’s Delight: While completely optional, a sprinkle of mini chocolate chips on top takes these bars to the next level of deliciousness. For an extra fancy touch, melt ½ cup chocolate chips with 1 teaspoon of coconut oil and drizzle over the chilled bars before slicing.