Rustic Italian Bread: Your Best Guide to Homemade Loaves
Rustic Italian Bread
There’s something uniquely soul-satisfying about a freshly baked loaf of Rustic Italian Bread. The moment that warm, yeasty aroma fills your kitchen, promising a perfect crackly crust and an impossibly airy, chewy interior, it’s truly one of life’s purest pleasures. For me, that scent instantly transports me back to childhood Saturdays, when my nonna would return from the forno down the street, cradling a warm loaf that was still whispering with the heat of the oven – the kind of bread that deeply inspired my own baking journey and made me seek out fantastic examples like the one found over at Taste & Charm.
Thank you for reading this post, don't forget to subscribe!I remember vividly my first foray into homemade bread making. It was a chilly Saturday morning, much like those childhood memories, and I was armed with a recipe I’d diligently scribbled down after an inspiring trip to a local bakery. The task felt monumental, full of the mysteries of intimidating yeast, but oh, the profound satisfaction of pulling that golden-brown masterpiece from the oven! It wasn’t unlike the joy I felt perfecting another favorite, like this delightful No-Knead Cinnamon Raisin Bread I often make in my Dutch oven.
This Rustic Italian Bread isn’t just a recipe; it’s an invitation to experience that same burst of pride and delicious success, even if you’re a complete beginner. Forget the fear of yeast; we’re going to demystify the process and guide you every step of the way to achieve your very own artisan loaf. Let’s bake some magic together and fill your home with the irresistible scent of authentic Italian tradition!
Rustic Italian Bread: Your Simple Guide to Homemade Loaves
Course: BreadsCuisine: ItalianDifficulty: Easy4
servings30
minutes40
minutes300
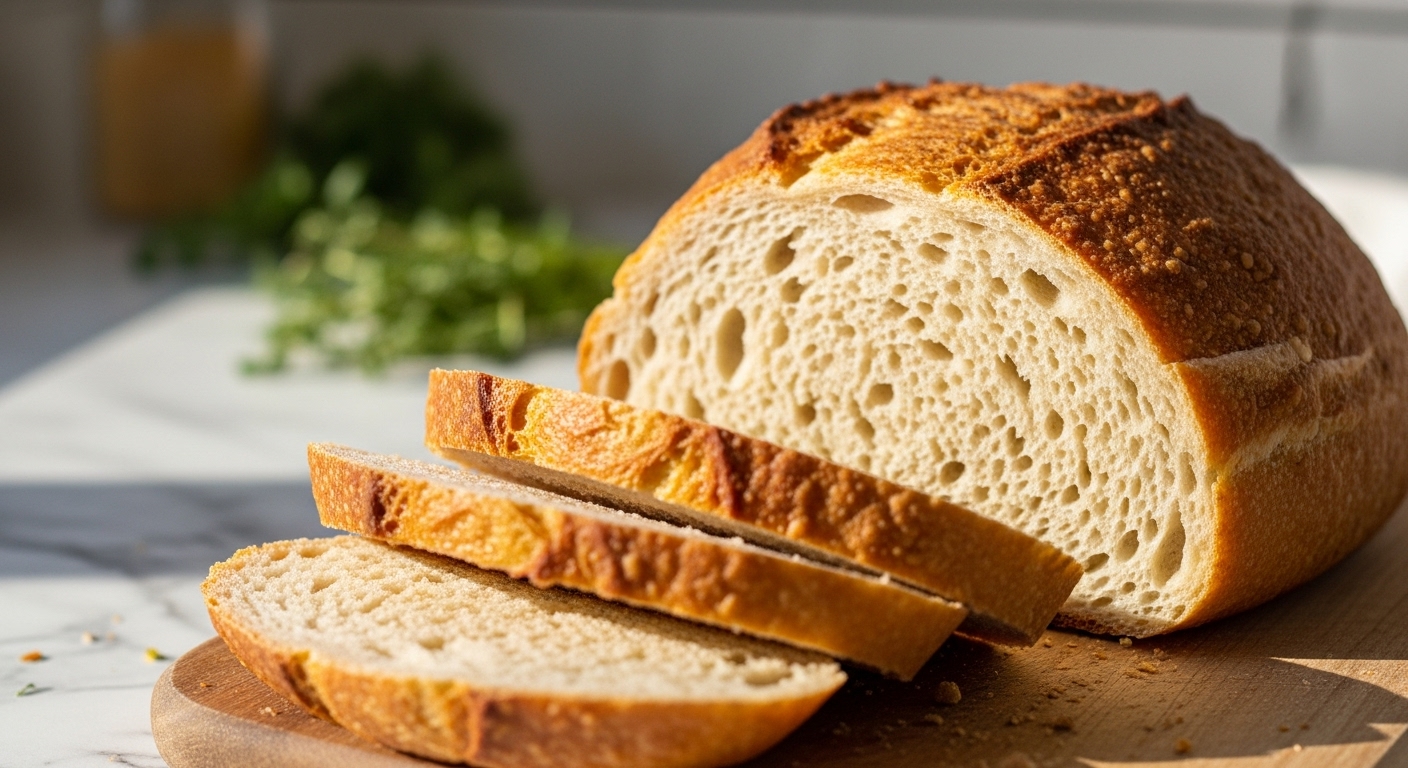
kcalThis Rustic Italian Bread recipe delivers a beautifully crusty exterior and a soft, airy crumb, perfect for dipping in olive oil or making sandwiches. It’s surprisingly simple to make, even for novice bakers, and fills your home with an irresistible aroma.
Ingredients
3 ½ cups (420g) all-purpose flour
1 teaspoon instant or active dry yeast
1 ½ teaspoons salt
1 ½ cups (360ml) warm water (105-115°F / 40-46°C)
1 tablespoon olive oil, plus more for greasing
Directions
- In a large mixing bowl, combine the flour, yeast, and salt. Whisk briefly to distribute the yeast and salt evenly.
- Gradually add the warm water and olive oil to the dry ingredients, stirring with a wooden spoon or spatula until a shaggy dough forms. It will be sticky.
- Cover the bowl with plastic wrap and let the dough rise at room temperature for 1.5 to 2 hours, or until doubled in size. The dough should be bubbly and elastic.
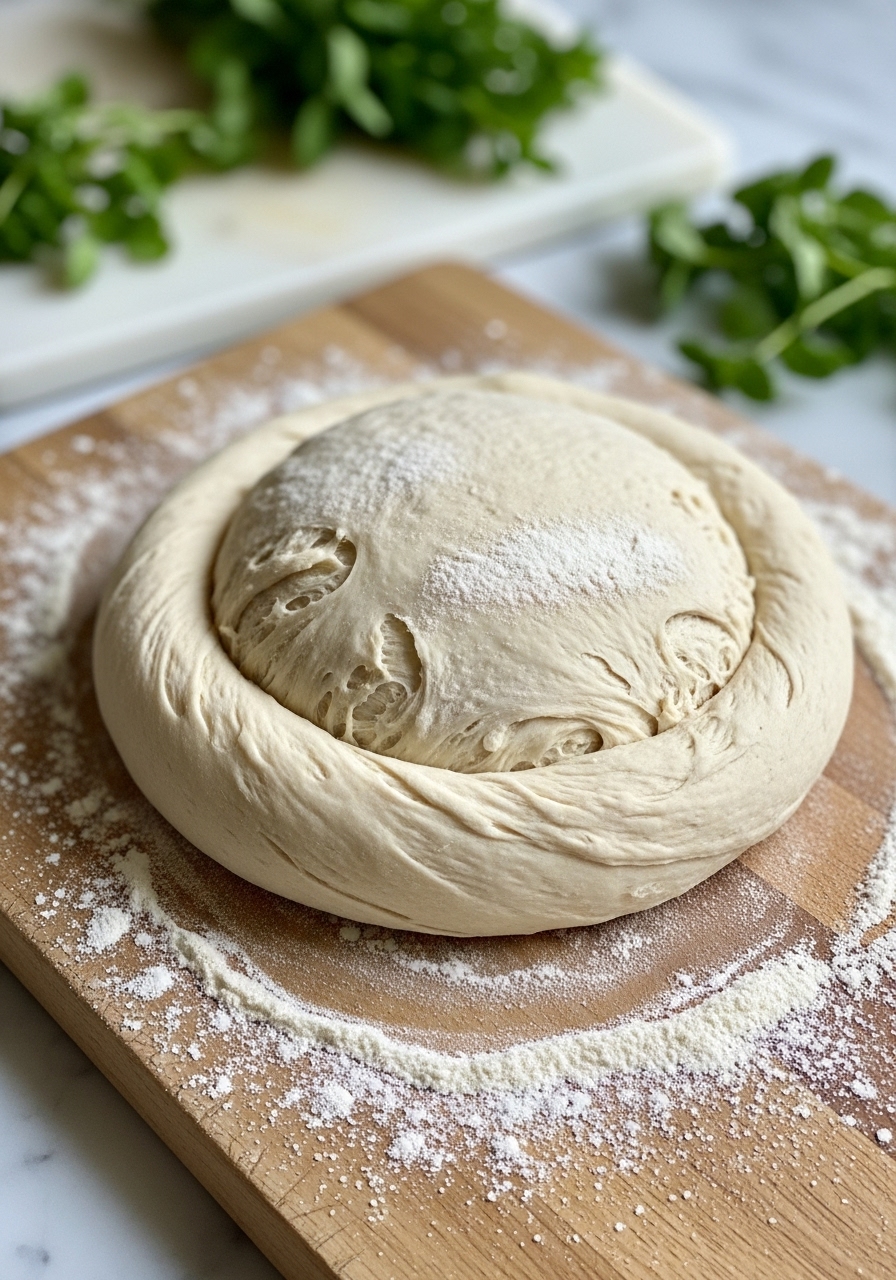
- Gently deflate the dough on a lightly floured wooden cutting board. Shape it into a round or oval loaf. Do not overwork the dough.
- Place the shaped loaf on a piece of parchment paper, then transfer it to a baking sheet. Loosely cover with plastic wrap and let it proof for another 30-45 minutes, or until noticeably puffy.
- Preheat your oven to 450°F (230°C) with a baking stone or heavy baking sheet inside. If you have one, place a shallow pan on the bottom rack for steam.
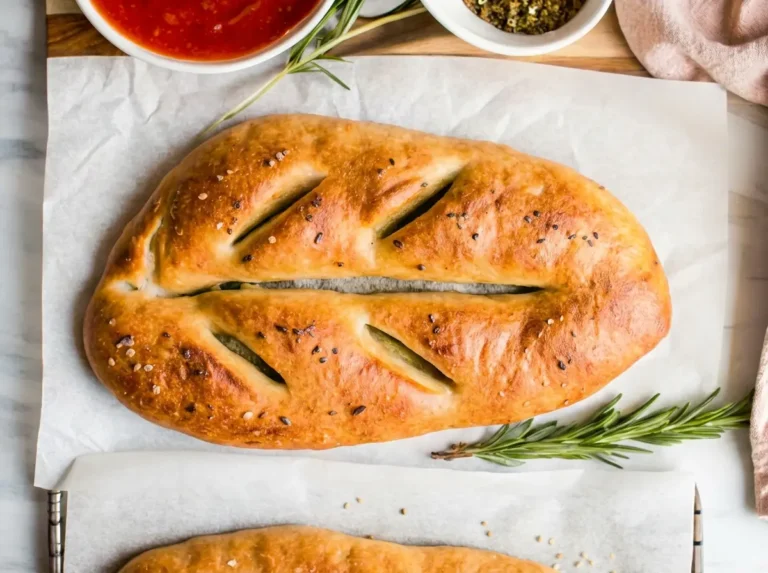
- Score the top of the bread with a sharp knife or bread lame (1-2 slashes).
- Carefully transfer the parchment paper with the bread onto the preheated stone/baking sheet. Pour about ½ cup of hot water into the shallow pan for steam (if using).
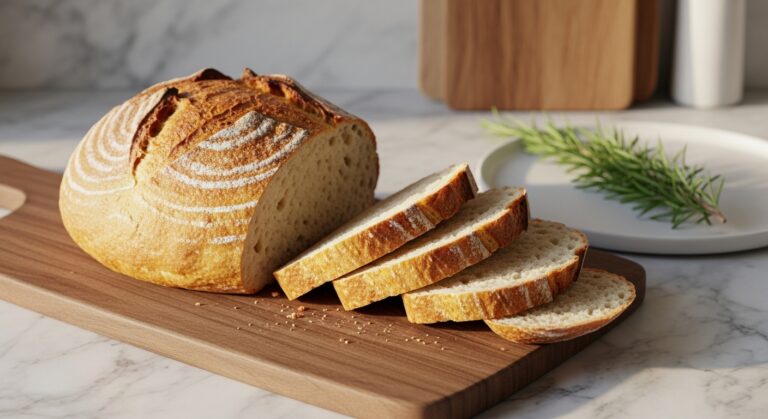
- Bake for 25-35 minutes, or until the crust is deeply golden brown and sounds hollow when tapped on the bottom. Remove from oven and cool completely on a wire rack before slicing and serving.
Notes
- The Steam Secret: Don’t skip the steam! Pouring hot water into a pan in the oven creates steam, which is crucial for developing that beautiful, crispy, thin crust on your Rustic Italian Bread. Just be careful when adding the water!
- Flour Power: If your dough feels too sticky, resist the urge to add a lot of extra flour during the shaping step. A little dusting is fine, but too much will make your bread dense. Embrace the stickiness; it’s a sign of a well-hydrated dough!
- Listen to Your Bread: The best way to tell if your Rustic Italian Bread is done baking is by tapping the bottom. If it sounds hollow, it’s ready! Also, make sure it’s deeply golden brown for that perfect rustic look and flavor.