No Knead Cranberry Nut Bread: Artisan Baking Made Simple
No Knead Cranberry Nut Bread
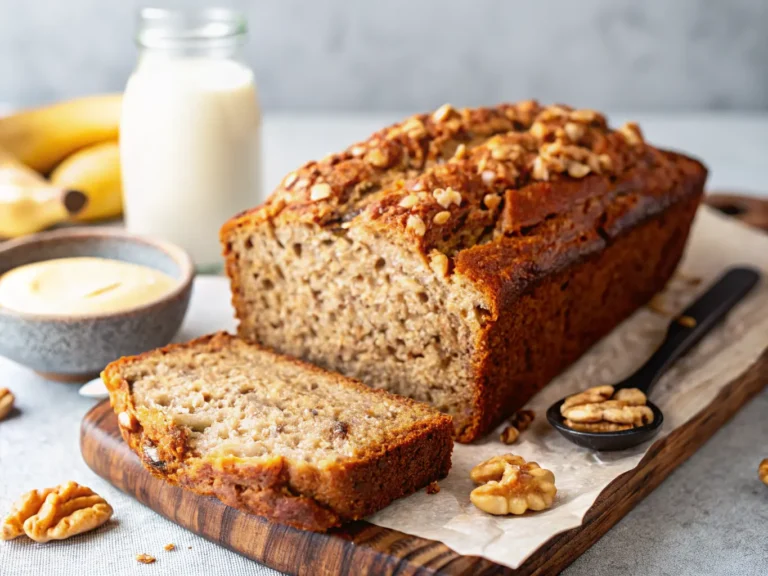
There’s something truly magical about baking bread, and my No Knead Cranberry Nut Bread recipe is no exception. I still vividly recall the first time I pulled a glorious, golden-crusted loaf from the oven, its irresistible aroma of sweet-tart cranberries and warm nuts instantly filling every corner of my kitchen on a crisp autumn afternoon.
Thank you for reading this post, don't forget to subscribe!It was one of those moments where the simple process felt like an unexpected triumph – barely believing that something so beautiful and utterly delicious could emerge with so little effort. This isn’t just a recipe; it’s a testament to achieving artisan quality without the endless hours of kneading, proving that beautiful loaves are within everyone’s reach, much like our popular gluten-free artisan rolls.
This bread truly is perfect for those busy days when you crave homemade goodness without the fuss, bringing that comforting, bakery-fresh experience right to your home. And for even more insights into mastering the simple no-knead method, or perhaps to explore another take on this wonderful treat, you might also enjoy the detailed guide on Taste Charm.
No Knead Cranberry Nut Bread: Artisan Baking Made Simple
Course: BreadsCuisine: AmericanDifficulty: Easy4
servings30
minutes40
minutes300
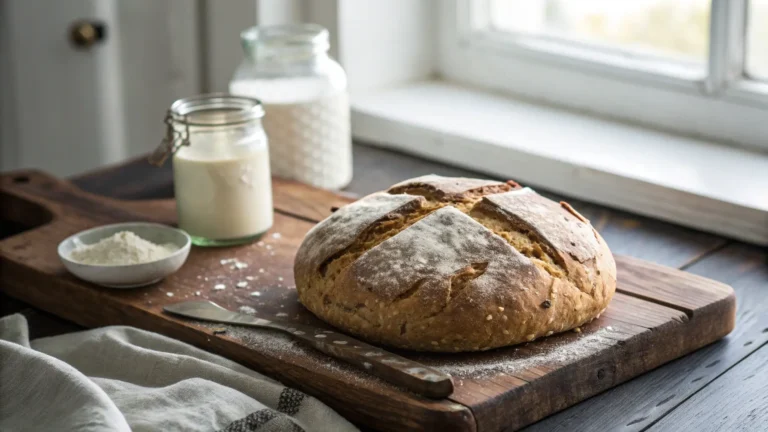
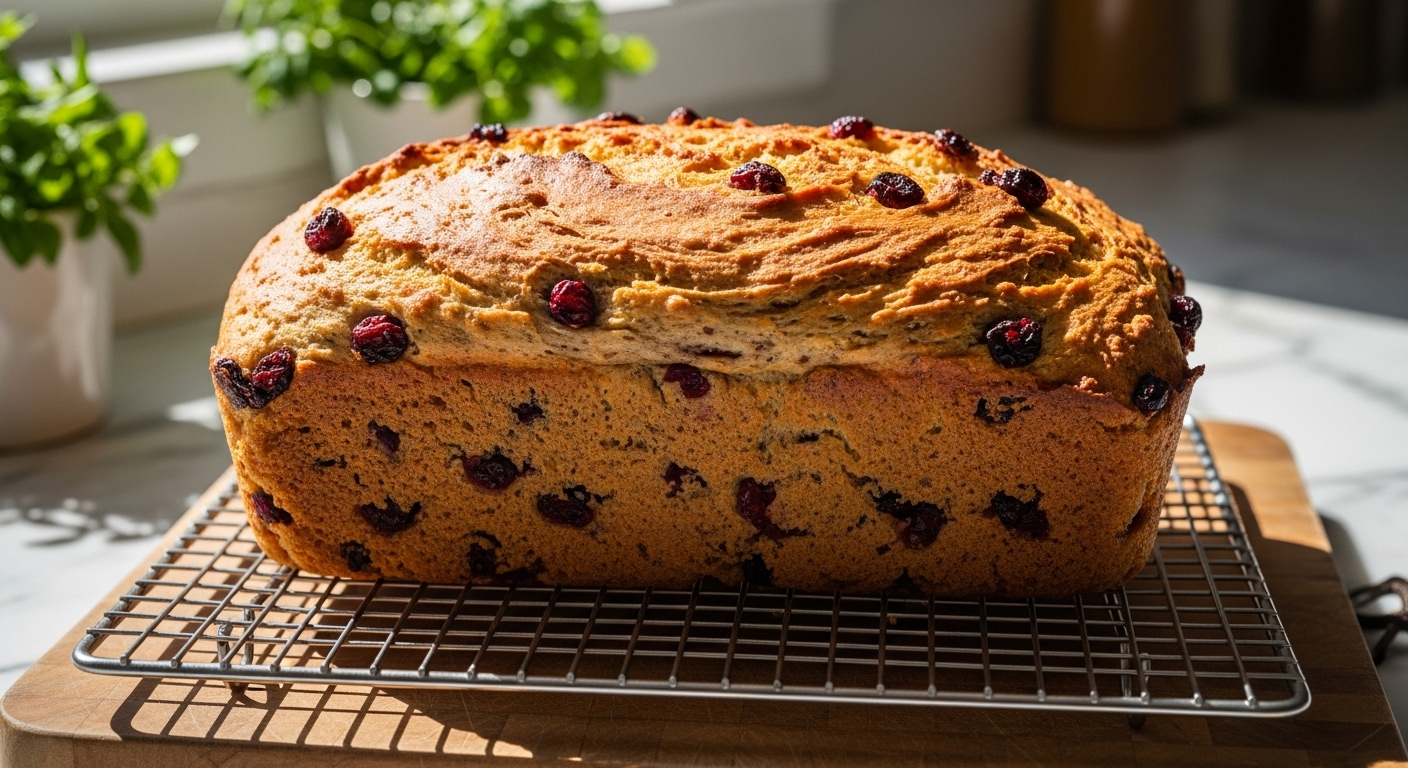
kcalDiscover the joy of baking an incredibly flavorful and rustic No Knead Cranberry Nut Bread with minimal effort. This recipe yields a beautifully crusty loaf, studded with sweet cranberries and crunchy nuts, perfect for holidays or a cozy breakfast.
Ingredients
3 cups (360g) all-purpose flour
1 teaspoon salt
1/2 teaspoon instant or active dry yeast
1 1/2 cups (360ml) warm water (around 105-115°F / 40-46°C)
1/2 cup (70g) dried cranberries
1/2 cup (60g) chopped walnuts or pecans
Optional: 1 tablespoon orange zest
Directions
- In a large bowl, whisk together the flour, salt, and yeast. If using active dry yeast, proof it in the warm water for 5 minutes before adding to dry ingredients.
- Pour the warm water into the dry ingredients. Mix with a wooden spoon or spatula until just combined. The dough will be shaggy and sticky.
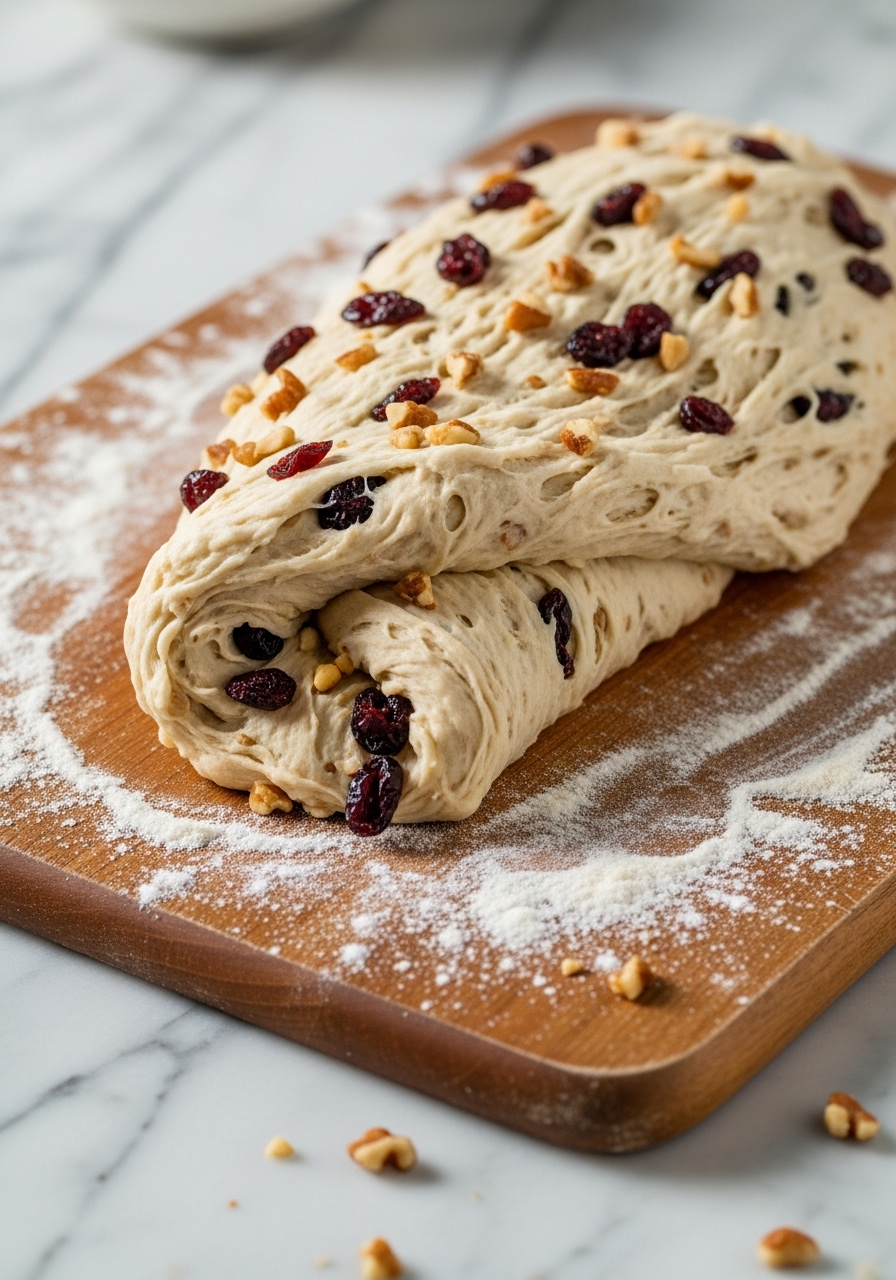
- Fold in the dried cranberries and chopped nuts until evenly distributed. If using orange zest, add it now.
- Cover the bowl tightly with plastic wrap and let it rest at room temperature (around 70°F / 21°C) for 12-18 hours, or until doubled in size and bubbly.
- Lightly flour a clean surface. Scrape the dough out onto the floured surface. Fold the edges of the dough towards the center a few times to form a rough ball. Do not knead aggressively.
- Place the dough seam-side down on a piece of parchment paper. Loosely cover with plastic wrap or a clean kitchen towel and let it rest for another 30 minutes while the oven preheats.
- About 30 minutes before baking, place a 6-8 quart Dutch oven (with lid) into your oven and preheat to 450°F (232°C).
- Carefully remove the hot Dutch oven from the oven. Using the parchment paper, lift the dough and gently transfer it into the hot Dutch oven. Cover with the lid.
- Bake for 30 minutes with the lid on. Remove the lid and continue baking for another 10-15 minutes, or until the crust is deeply golden brown and sounds hollow when tapped.
- Carefully remove the bread from the Dutch oven and transfer it to a wire rack to cool completely before slicing. This is crucial for the internal structure.
Notes
- The Overnight Magic: Don’t rush the proofing! The long, slow fermentation is what develops that incredible flavor and signature texture in your No Knead Cranberry Nut Bread. Find a cozy spot in your kitchen and let time do the work.
- Dutch Oven Secret: A preheated Dutch oven is key to achieving that wonderfully crusty exterior. It traps steam, mimicking a professional bakery oven. If you don’t have one, a heavy-bottomed pot with a tight-fitting lid will also work, or even a baking stone with a pan of water for steam.
- Cooling Patience: It’s so tempting to slice into warm, fragrant bread, but resist! Cooling completely allows the internal starches to set, giving you a perfect slice and preventing a gummy texture. Trust me, it’s worth the wait!