Twisted Christmas Cookies: A Festive & Fun Bake!
Twisted Christmas Cookies
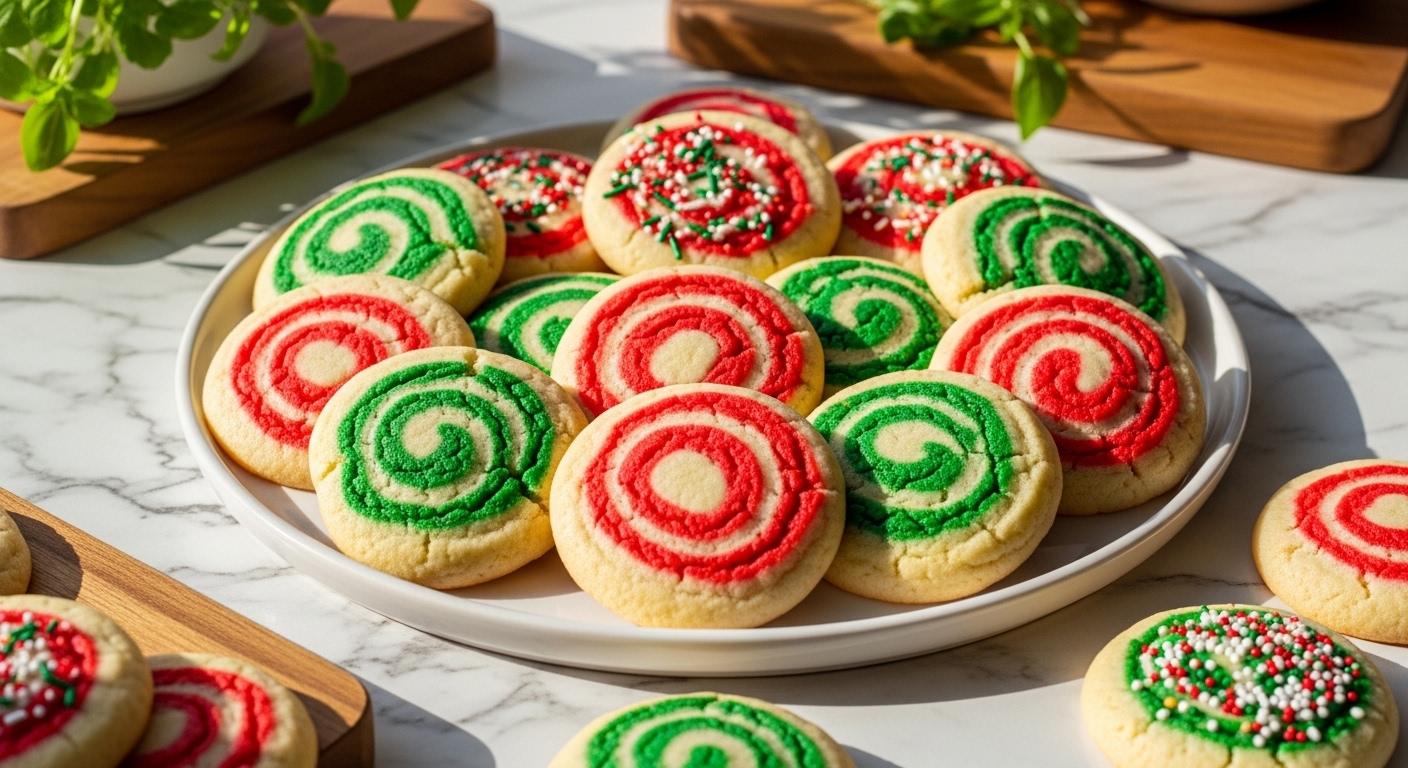
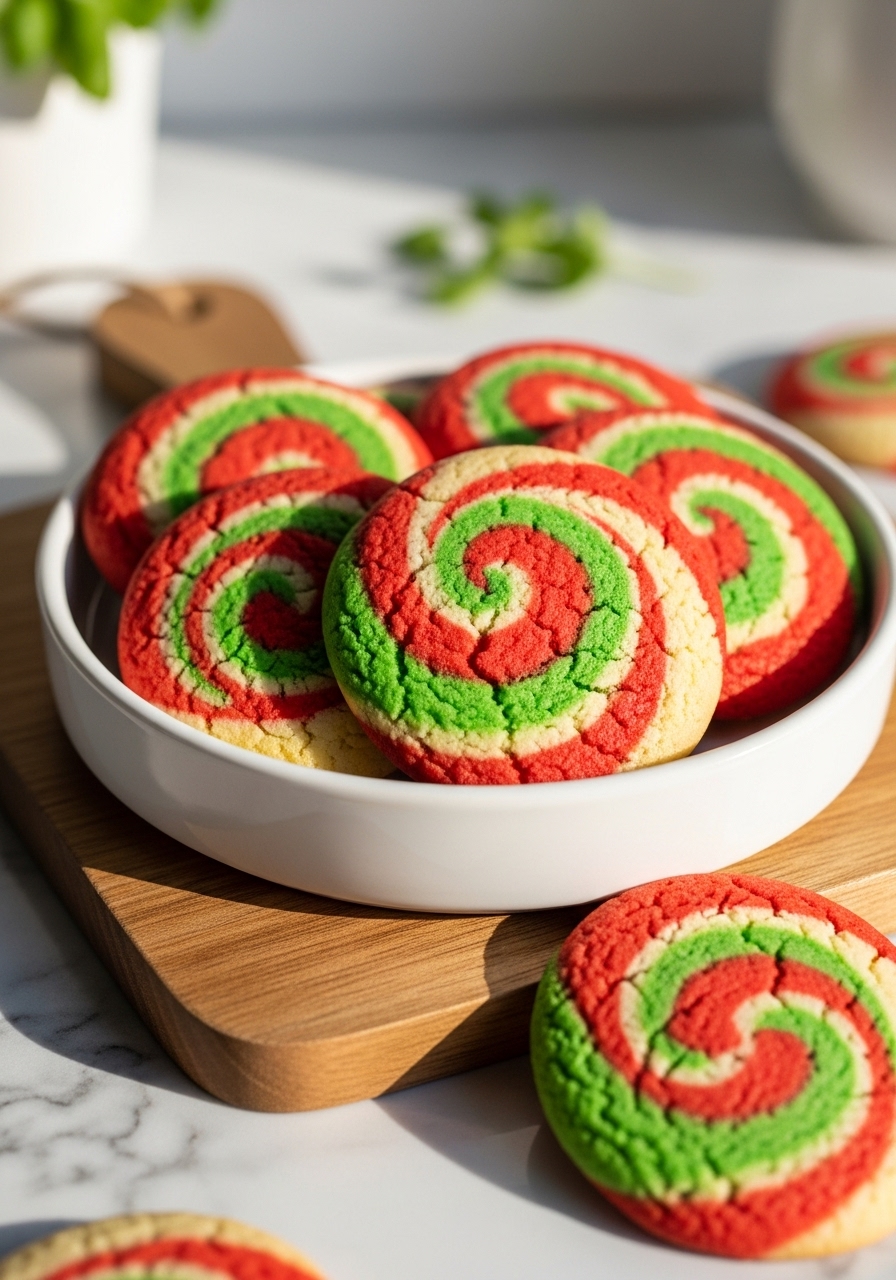
There’s something truly magical about holiday baking, isn’t there? As the days grow shorter and the festive spirit begins to twinkle, I find myself irresistibly drawn to the warmth of the oven, eager to whip up a batch of our cherished Twisted Christmas Cookies. This isn’t just about baking; it’s about crafting edible memories, filling the home with an irresistible aroma that instantly brings back sweet moments of bustling kitchens and flour-dusted countertops. Speaking of holiday favorites, if you’re looking for even more festive inspiration, you might also love my Christmas Cranberry Orange Cookies!
Thank you for reading this post, don't forget to subscribe!Our Twisted Christmas Cookies are truly a quintessential part of that tradition, transforming simple dough into something truly special that brightens every cookie platter. Each beautiful, buttery delight emerges from the oven golden and gleaming, those perfect twists ready to be adorned with sprinkles and shared with loved ones. To dive right into this joyful adventure and get all the steps for these perfectly sweet, festive treats, you can find the complete recipe and detailed instructions right here at Taste Charm. Let’s make some holiday magic together!
Twisted Christmas Cookies: A Festive & Fun Bake!
Course: DessertsCuisine: HolidayDifficulty: Easy4
servings30
minutes40
minutes300
kcalOur Twisted Christmas Cookies are a delightful blend of rich butter, sweet sugar, and festive colors, perfect for brightening any holiday cookie plate. They’re surprisingly easy to make and guaranteed to bring smiles!
Ingredients
1 cup (2 sticks) unsalted butter, softened
1 cup granulated sugar
1 large egg
1 teaspoon vanilla extract
3 cups all-purpose flour
1 teaspoon baking powder
1/2 teaspoon salt
Red and green gel food coloring
Festive sprinkles (optional)
Directions
- In a large bowl, cream together the softened butter and granulated sugar until light and fluffy, about 2-3 minutes.
- Beat in the egg and vanilla extract until well combined.
- In a separate medium bowl, whisk together the flour, baking powder, and salt.
- Gradually add the dry ingredients to the wet ingredients, mixing on low speed until just combined and a soft dough forms.
- Divide the dough into two equal portions. Tint one portion red and the other green using gel food coloring, kneading gently until the color is uniform.
- Wrap each dough portion in plastic wrap and chill in the refrigerator for at least 30 minutes, or up to 2 hours.
- Preheat your oven to 375°F (190°C) and line baking sheets with parchment paper.
- On a lightly floured surface, roll out each dough color to about 1/4-inch thickness. Cut into 1/2-inch wide strips, about 6 inches long.
- Take one red strip and one green strip, gently press them together at one end, and twist them around each other until you reach the other end. Pinch to seal.
- Place the twisted cookies on the prepared baking sheets, leaving about 1 inch between them. Decorate with sprinkles if desired.
- Bake for 10-12 minutes, or until the edges are lightly golden. The cookies should still be soft in the center.
- Let the cookies cool on the baking sheets for 5 minutes before transferring them to a wire rack to cool completely.
Notes
- Chill Factor: Don’t skip chilling the dough! This step is crucial for the cookies to hold their beautiful twisted shape and prevent them from spreading too much in the oven. If your kitchen is warm, you might even chill the dough longer.
- Twist Master: For the prettiest twists, roll your dough strips evenly. When twisting, apply gentle, even pressure and try to keep the twist consistent from end to end. If the dough gets too warm and sticky, pop it back in the fridge for a few minutes.
- Flavor Fun: Get creative with your colors! You could also add a touch of almond extract instead of vanilla for a different festive flavor, or even a hint of lemon zest to the dough for a bright twist. Try dipping cooled cookies in melted white chocolate and adding more sprinkles!