Easy Healthier Homemade Crunch Bars (Vegan + Gluten-Free) – A Bake Mode Favorite!
Healthier Homemade Crunch Bars – There’s just something undeniably magical about a classic crunch bar, isn’t there? That perfect snap of chocolate followed by the satisfying crisp of puffed rice truly embodies pure childhood joy. But as my palate has matured and my kitchen philosophy evolved, I’ve found myself yearning for treats that not only hit that nostalgic sweet spot but also perfectly align with my Bake Mode ethos: wholesome, joyful, and utterly delicious without a single compromise. This deep-seated craving recently sparked a delicious mission to recreate that iconic snack, transforming it into something I could feel truly good about enjoying, and even better about sharing!
Thank you for reading this post, don't forget to subscribe!I vividly recall the afternoon I first perfected these Healthier Homemade Crunch Bars. The golden sun poured into my kitchen, illuminating every tiny speck of puffed rice, and the rich, comforting scent of melting chocolate completely filled the air. It felt like a small, sweet victory – a testament to how simple, good ingredients can truly transform into something extraordinary. For all the delicious details and the full recipe, you can find my complete guide to these Healthier Homemade Crunch Bars right here on TasteCharm.
This particular kitchen memory, where a simple craving blossomed into a delightful and healthier revelation, is one I truly cherish. Trust me, once you experience the joy of making and tasting these easy Healthier Homemade Crunch Bars for yourself, you’ll be adding this recipe to your own cherished collection of kitchen triumphs too. And if you’re always on the hunt for more wholesome snack ideas, you might also love my Healthy Banana Oatmeal Bars – another perfect pick for guilt-free indulgence!
The Magic Ingredients Behind Healthier Homemade Crunch Bars
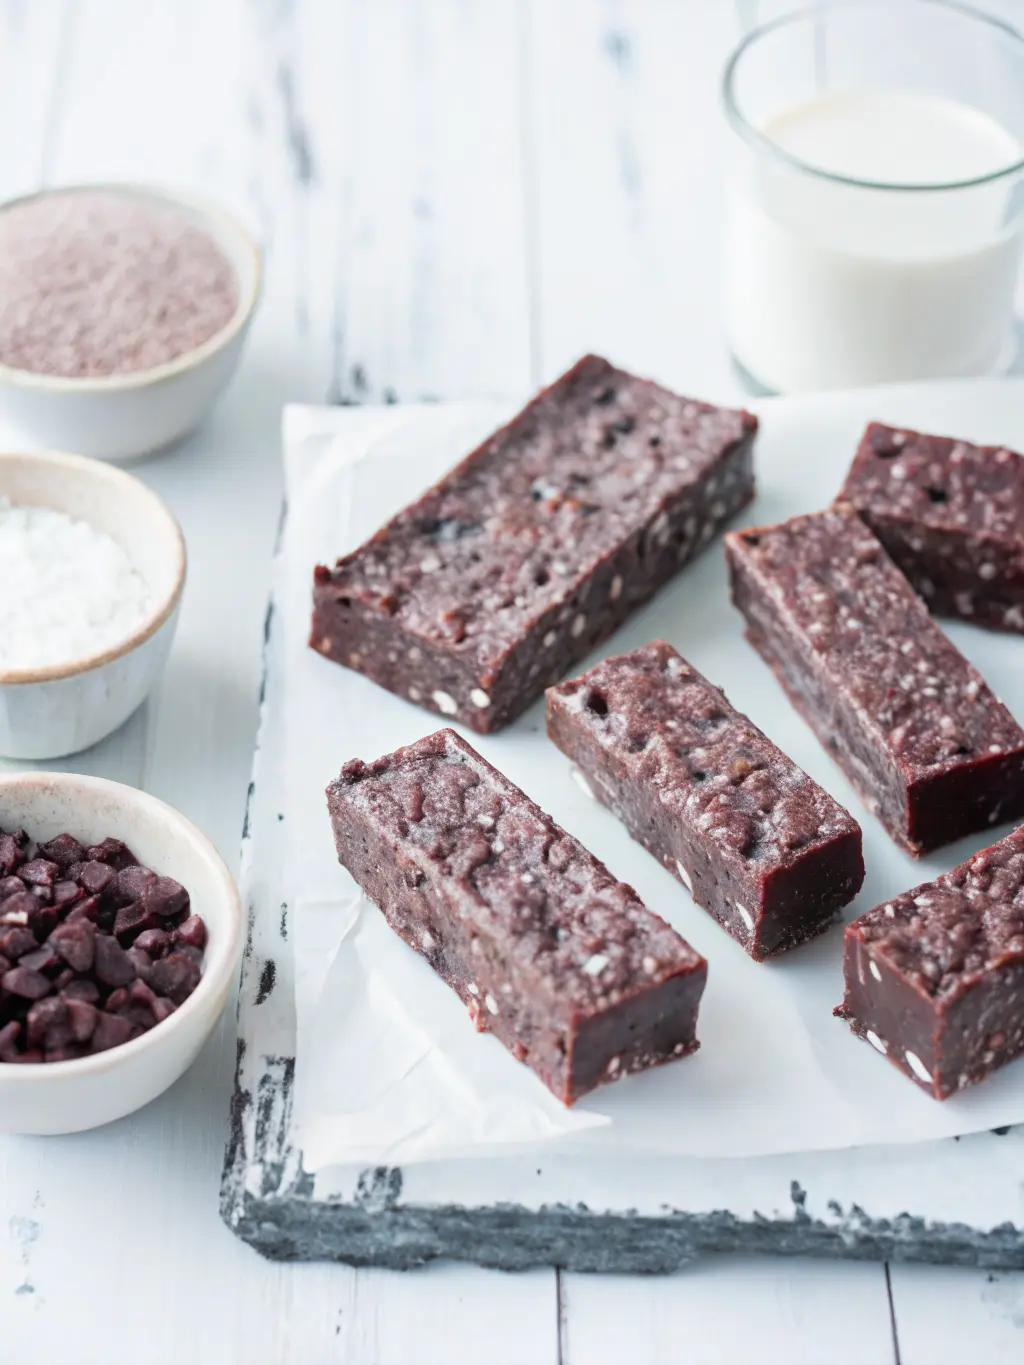
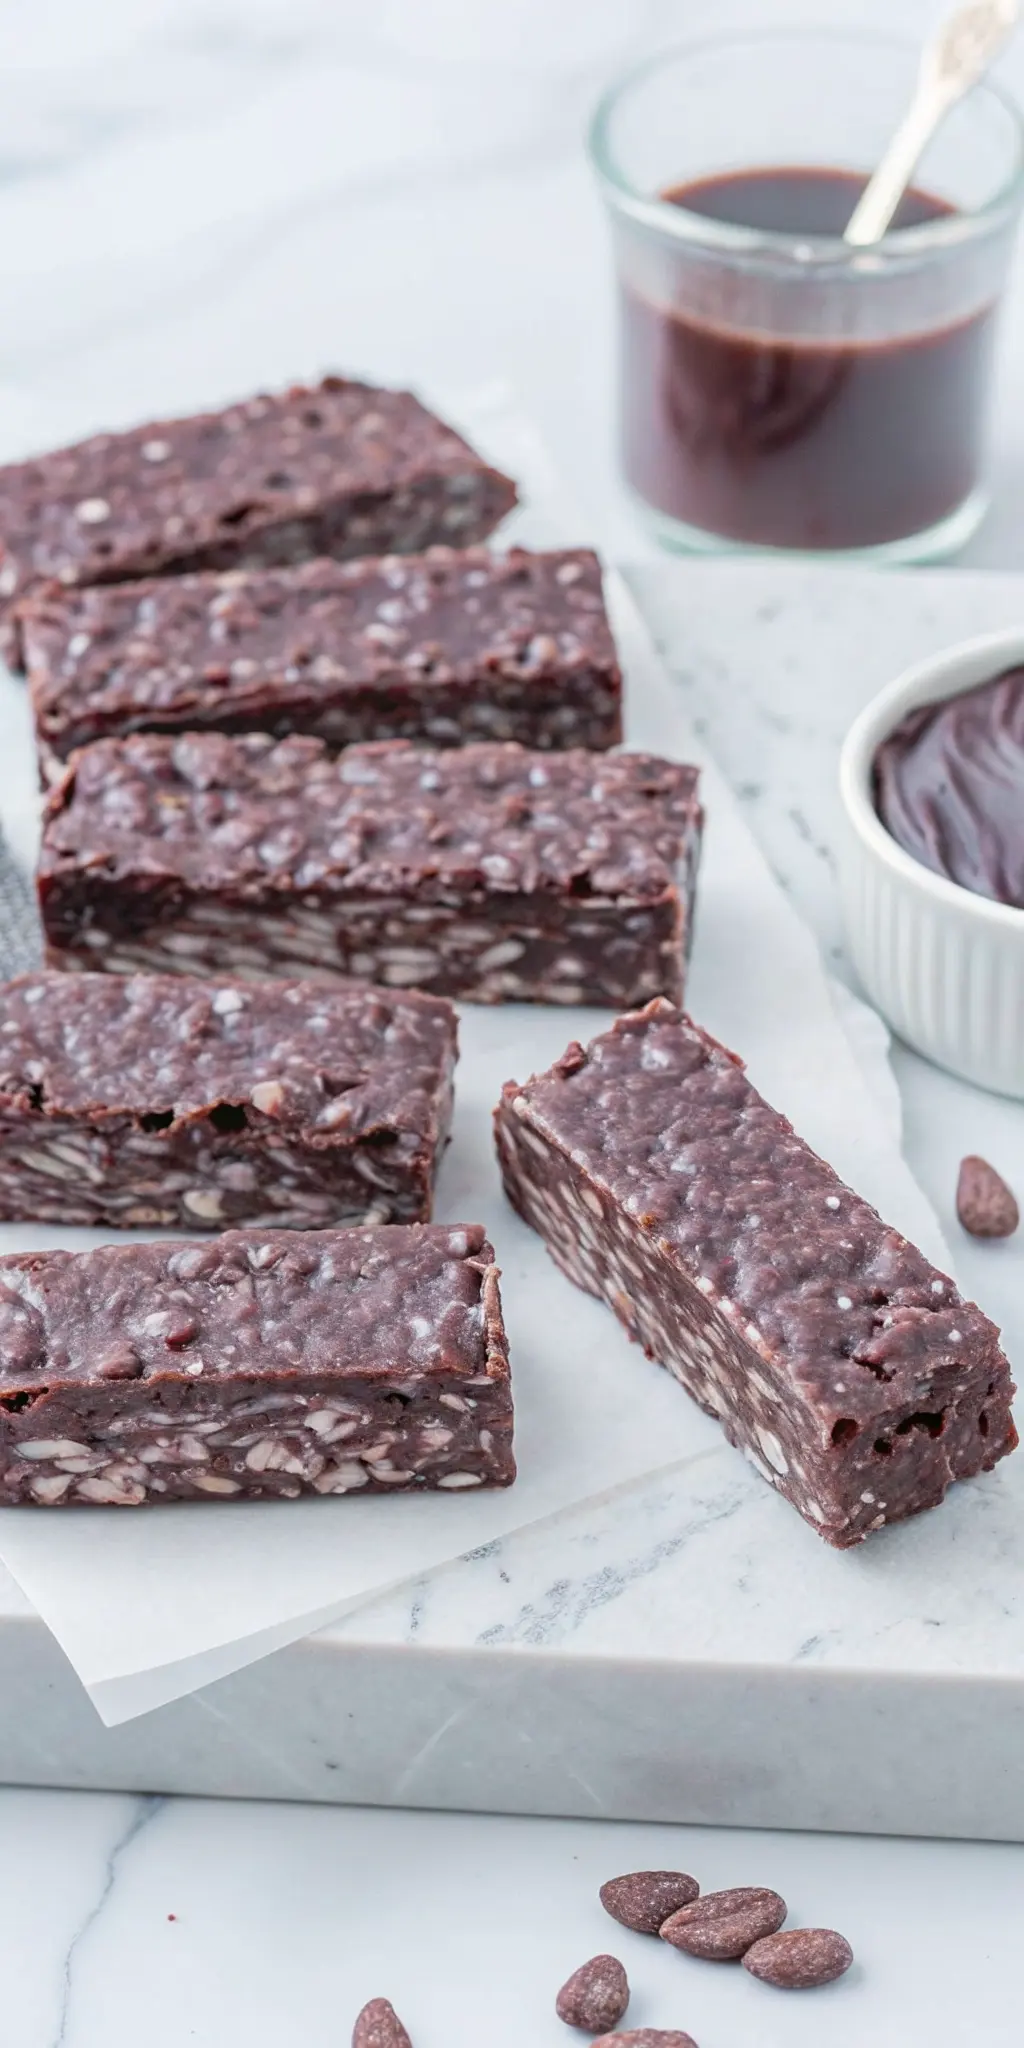
The secret to elevating classic treats often lies in thoughtful ingredient swaps, and our Healthier Homemade Crunch Bars are no exception. We ditch the highly processed stuff for rich dark chocolate, creamy nut butter (almond or peanut work beautifully!), a touch of coconut oil for that perfect snap, and a kiss of maple syrup for sweetness. And of course, the star of the show: puffed rice cereal, ensuring that iconic crunch. Bake Mode is all about making smart choices that don’t sacrifice flavor, and these ingredients come together to create a symphony of textures and tastes that you’ll adore. It’s simple, clean, and utterly satisfying.
Mastering the Melt: Crafting Perfect Healthier Homemade Crunch Bars
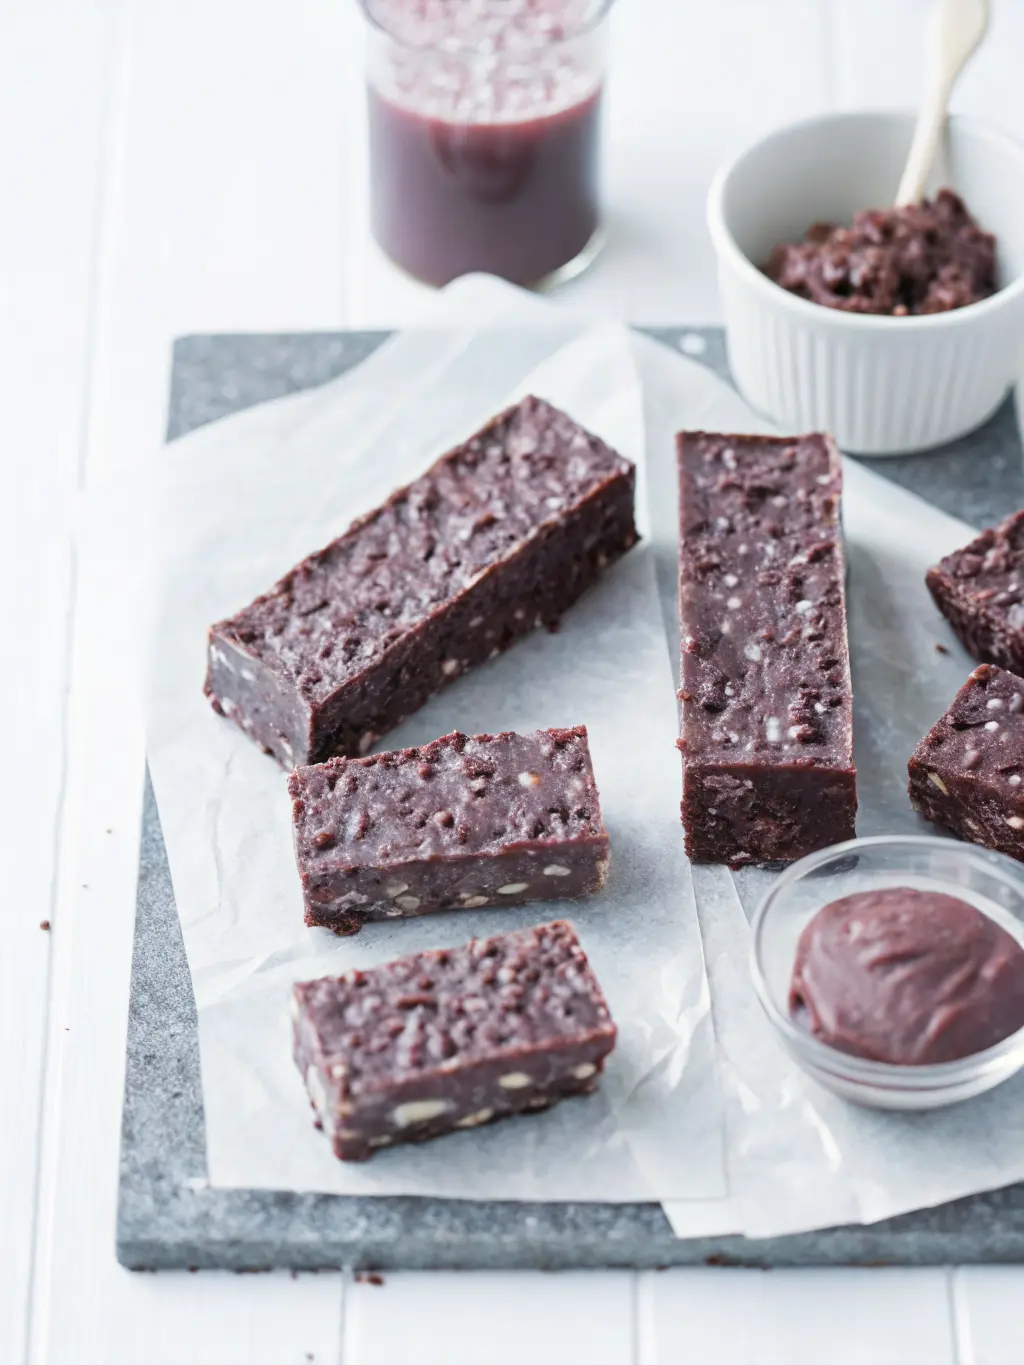
Creating these Healthier Homemade Crunch Bars is less about precision baking and more about a joyful, intuitive process. The key is gently melting your chocolate, nut butter, coconut oil, and maple syrup until they form a smooth, glossy river of deliciousness. This is where Bake Mode truly shines – it’s about embracing the moment, watching the ingredients transform. Once your chocolate base is ready, it’s a quick fold with the puffed rice, ensuring every single piece is coated in that luscious mixture. Don’t overmix; you want to preserve that airy crispness. Pour it into your prepared pan, press firmly, and let the fridge do the rest!
Flavor Variations for Your Healthier Homemade Crunch Bars
While the classic chocolate and puffed rice combination for these Healthier Homemade Crunch Bars is pure perfection, part of the fun of home cooking with Bake Mode is experimenting! Consider adding a sprinkle of sea salt before chilling for a gourmet salted chocolate twist. A dash of vanilla extract or a pinch of cinnamon can add warmth and depth to the chocolate mixture. For an extra layer of texture, try folding in some chopped roasted nuts or seeds alongside the puffed rice. The possibilities are endless, allowing you to tailor this simple treat to your exact cravings and preferences.
Storing and Serving Your Healthier Homemade Crunch Bars
Once your Healthier Homemade Crunch Bars have set and you’ve sliced them into perfect rectangles, proper storage is key to maintaining their delightful crunch and texture. Keep them in an airtight container in the refrigerator; this prevents them from getting too soft and ensures that satisfying snap with every bite. They’re fantastic straight from the fridge, offering a cool, refreshing treat. Pack them in lunchboxes, grab one for a post-workout snack, or simply enjoy with a cup of coffee or tea for a little moment of joy. They keep wonderfully for up to a week, making them perfect for meal prepping your snacks.
Why Healthier Homemade Crunch Bars Are a Game Changer
In a world full of processed snacks, discovering a recipe like these Healthier Homemade Crunch Bars feels like finding a culinary gem. They embody everything Bake Mode stands for: creating wholesome, delicious food that makes you feel good from the inside out. They’re quick enough for a weeknight craving, impressive enough for guests, and versatile enough to satisfy various dietary needs. This isn’t just a recipe; it’s an invitation to bring more joy, creativity, and conscious eating into your kitchen. Enjoy the process, savor the flavors, and celebrate the small victories of crafting something so good, so simple, and so perfectly crunchy.
Easy Healthier Homemade Crunch Bars (Vegan + Gluten-Free) – A Bake Mode Favorite!
Course: Snack, DessertCuisine: AmericanDifficulty: 20/1004
servings30
minutes40
minutes300
kcalQuick and easy vegan and gluten-free crunch bars made with simple, wholesome ingredients. A healthier twist on a nostalgic favorite!
Ingredients
1 cup dark chocolate chips (vegan)
1/2 cup natural nut butter (almond or peanut)
2 tbsp coconut oil
2 tbsp maple syrup (or agave)
1 tsp vanilla extract
4 cups puffed rice cereal (gluten-free)
Directions
- Line an 8×8 inch square baking dish with parchment paper, leaving an overhang on the sides for easy removal. Set aside.
- In a medium microwave-safe bowl (or a double boiler), combine dark chocolate chips, nut butter, coconut oil, and maple syrup.
- Heat in the microwave in 30-second intervals, stirring well after each, until completely melted and smooth. Alternatively, melt over a double boiler. Stir in the vanilla extract.
- Pour the puffed rice cereal into the chocolate mixture and fold gently with a spatula until all the cereal is evenly coated.
- Transfer the mixture to the prepared baking dish. Using the back of the spatula or your hands (lightly dampened), press the mixture down firmly and evenly into the pan.
- Refrigerate for at least 1-2 hours, or until completely firm. Use the parchment paper overhang to lift the slab out of the pan. Slice into bars or squares.
- Store leftover Healthier Homemade Crunch Bars in an airtight container in the refrigerator for up to 1 week.
Notes
- Ensure your puffed rice cereal is gluten-free if needed. Brands vary.
- For a stronger chocolate flavor, use a higher percentage dark chocolate.
- A sprinkle of sea salt on top before chilling adds a delicious contrast.
- If the mixture is too thick to spread, gently warm it slightly to loosen.