High-Protein Maple Pecan Scones: Healthy & Delicious
High-Protein Maple Pecan Scones: Fuel Your Day Deliciously
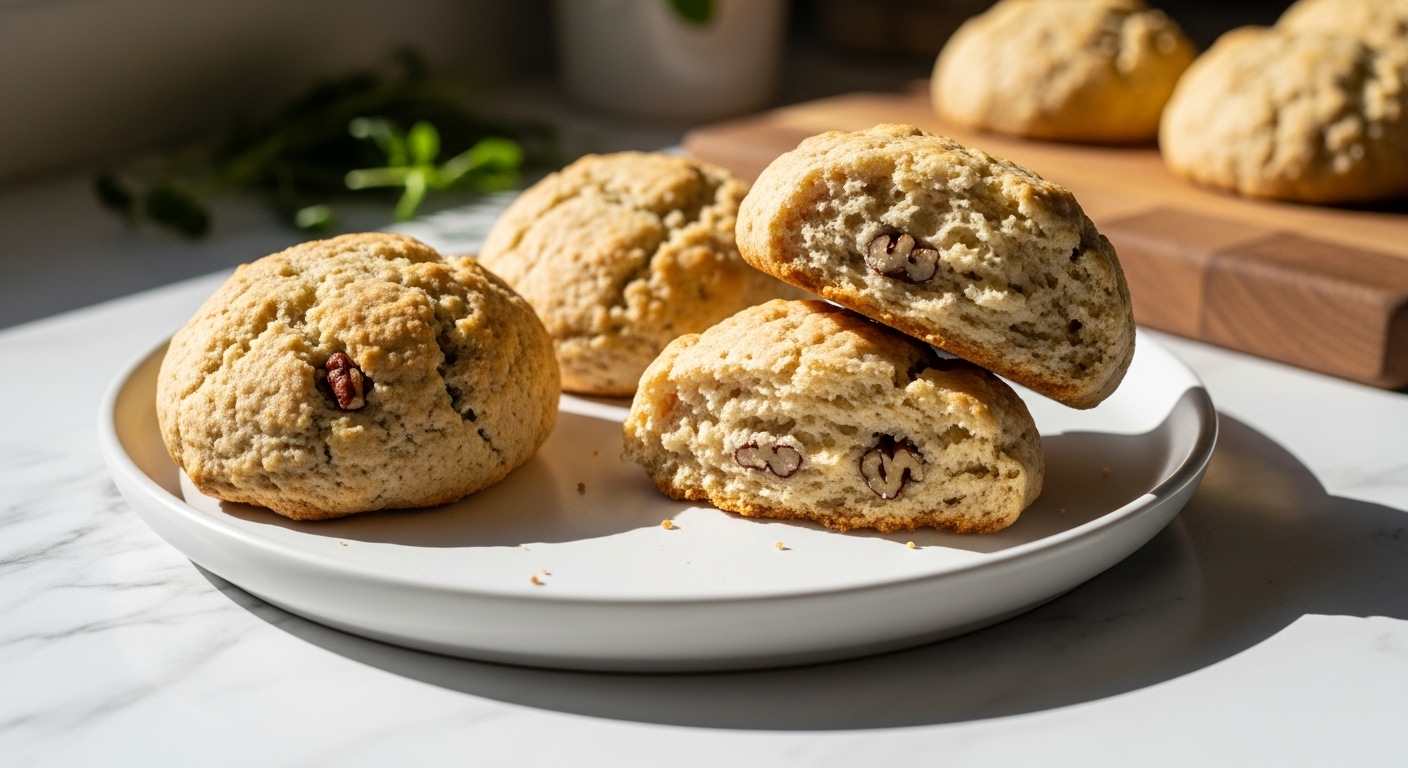
Mornings should always start with something truly special, and for me, that ‘something’ has become these incredible High-Protein Maple Pecan Scones – my absolute go-to for fueling busy days with a substantial, satisfying, and utterly delicious breakfast. I still vividly remember my early attempts at baking high-protein treats; many were sadly destined for the bin, dry, crumbly, and completely devoid of joy! But through many kitchen adventures and a few ‘fails,’ I finally cracked the code to creating scones that are tender, moist, and bursting with flavor.
Thank you for reading this post, don't forget to subscribe!This recipe isn’t just about adding a protein boost; it’s about crafting a breakfast experience that feels wonderfully indulgent yet perfectly supports your active lifestyle. If you’ve enjoyed my Date-Sweetened Orange Cranberry Scones, you know I’m passionate about balancing wholesome ingredients with incredible taste, and these maple pecan wonders are no exception to that philosophy.
Get ready for a scone that truly fuels you, without ever compromising on that cozy, comforting maple-pecan goodness we all adore! For more delicious inspiration on elevating your breakfast game, or if you’re curious to explore other takes on high-protein maple pecan scones, you’ve certainly come to the right place.
High-Protein Maple Pecan Scones: Healthy & Delicious
Course: BreakfastCuisine: AmericanDifficulty: Medium4
servings30
minutes40
minutes300
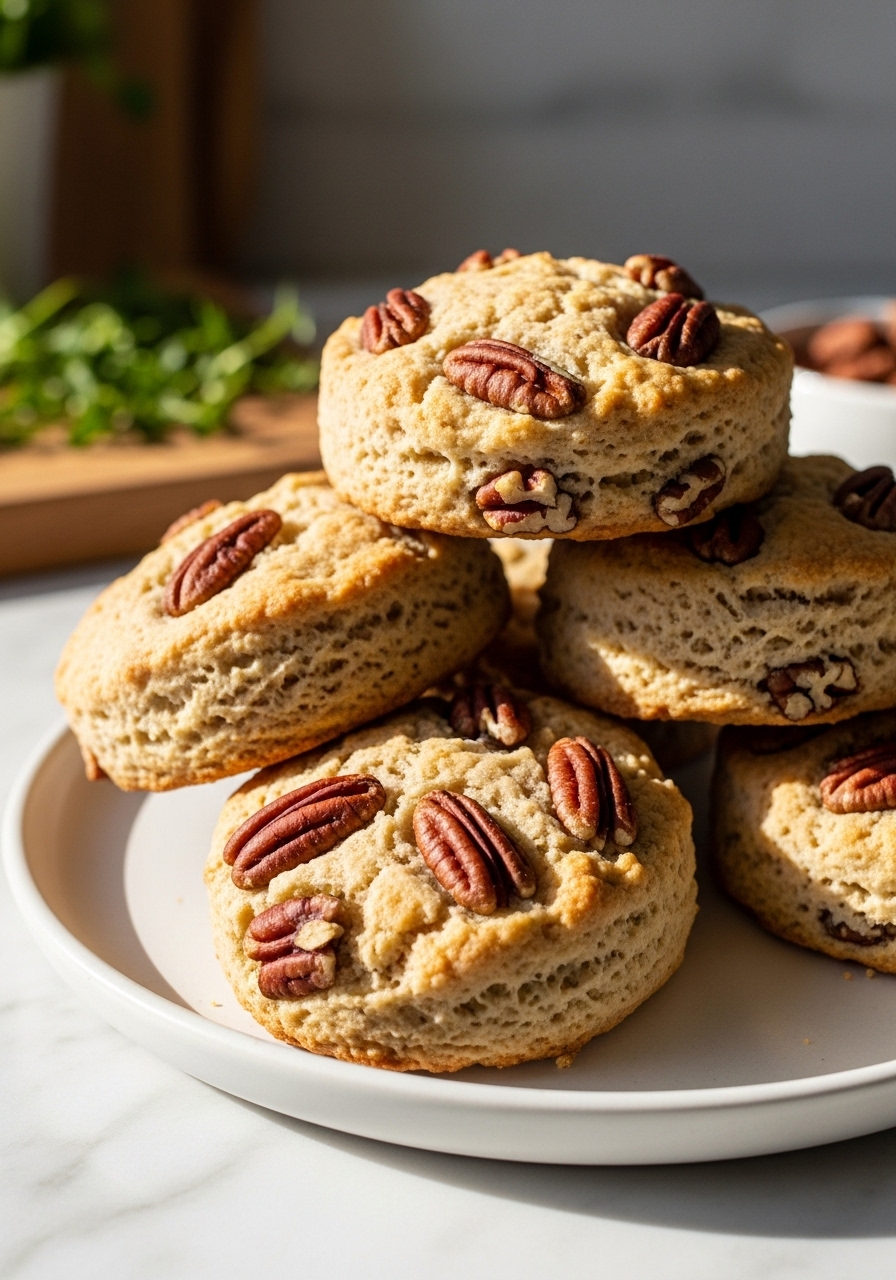
kcalFuel your day deliciously with these tender, high-protein maple pecan scones, perfect for a healthy breakfast or wholesome snack.
Ingredients
2 cups all-purpose flour (or a mix of all-purpose and whole wheat)
1/2 cup vanilla protein powder
1/4 cup granulated sugar
1 tablespoon baking powder
1/2 teaspoon salt
1/2 cup (1 stick) unsalted butter, very cold and cubed
1/2 cup chopped pecans, toasted
1 large egg
1/2 cup cold milk (dairy or non-dairy)
1/4 cup maple syrup
1 teaspoon vanilla extract
For the Maple Glaze:
1 cup powdered sugar
2 tablespoons maple syrup
1-2 tablespoons milk
Directions
- Preheat your oven to 400°F (200°C) and line a baking sheet with parchment paper.
- In a large bowl, whisk together the flour, protein powder, granulated sugar, baking powder, and salt.
- Add the very cold, cubed butter to the dry ingredients. Using a pastry blender or your fingertips, cut the butter into the flour mixture until it resembles coarse crumbs with some pea-sized pieces remaining.
- Stir in the toasted chopped pecans.
- In a separate small bowl, whisk together the egg, cold milk, maple syrup, and vanilla extract.
- Pour the wet ingredients into the dry ingredients. Mix gently with a fork or spatula until just combined. Be careful not to overmix; a few dry spots are okay.
- Turn the dough out onto a lightly floured surface. Gently pat the dough into a 1-inch thick circle (about 8 inches in diameter).
- Using a sharp knife or a round cookie cutter, cut the dough into 8 wedges or rounds. Arrange the scones on the prepared baking sheet.
- Bake for 18-20 minutes, or until the tops are golden brown and a wooden skewer inserted into the center comes out clean.
- While the scones cool, prepare the maple glaze: In a small bowl, whisk together the powdered sugar, maple syrup, and 1 tablespoon of milk until smooth. Add more milk a teaspoon at a time if needed to reach a drizzly consistency.
- Once the scones have cooled slightly, drizzle generously with the maple glaze before serving.
Notes
- Soft Scone Secret: Don’t overmix the dough! Overworking develops gluten too much, leading to tough scones. Mix just until combined for that tender crumb we’re aiming for.
- Chill Out: For truly flaky, tall scones, consider chilling your scone dough for 15-20 minutes after cutting and before baking. Cold butter creates steam pockets in the oven, giving you those coveted layers.
- Maple Pecan Magic: Toasting your pecans before adding them to the dough really amplifies their nutty flavor and brings out their natural oils, making every bite extra special. A quick toast in a dry pan for a few minutes is all it takes!